The Debtor/Patient Report Writer is a function to build a custom report according to the information the user needs to see on the debtor/patient files. The report column sequence can also be changed as well as the columns that should be displayed.
The contents of this User Manual will consist of the following information:
Create New Profile
Export and Print
Log in to the GoodX Desktop using your GoodX username and password.
From the Navigator,Double Click on the Financial Reports Module.
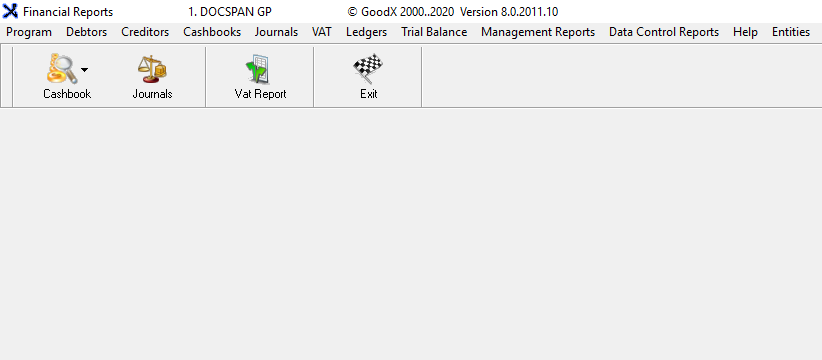
The main Financial Reports Screen will open.
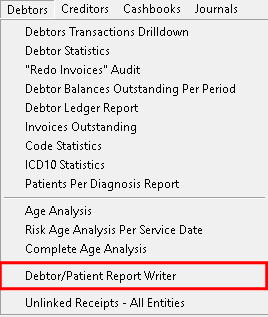
Click on Debtors on the menubar.
Click on Debtor/Patient Report Writer on the sub-menu.
The Choose a Profile screen will open.
Create a new profile.
Allows a user to create a new report profile with customised options to suit the needs of the practice.
Click on the New button.
A New profile pop-up will appear.
Click on the Please enter the new name text field to input a new name for the profile.
Click on Cancel to cancel the request, the pop-up will close and return to the Choose a Profile screen.
Click on OK to save the new profile name.
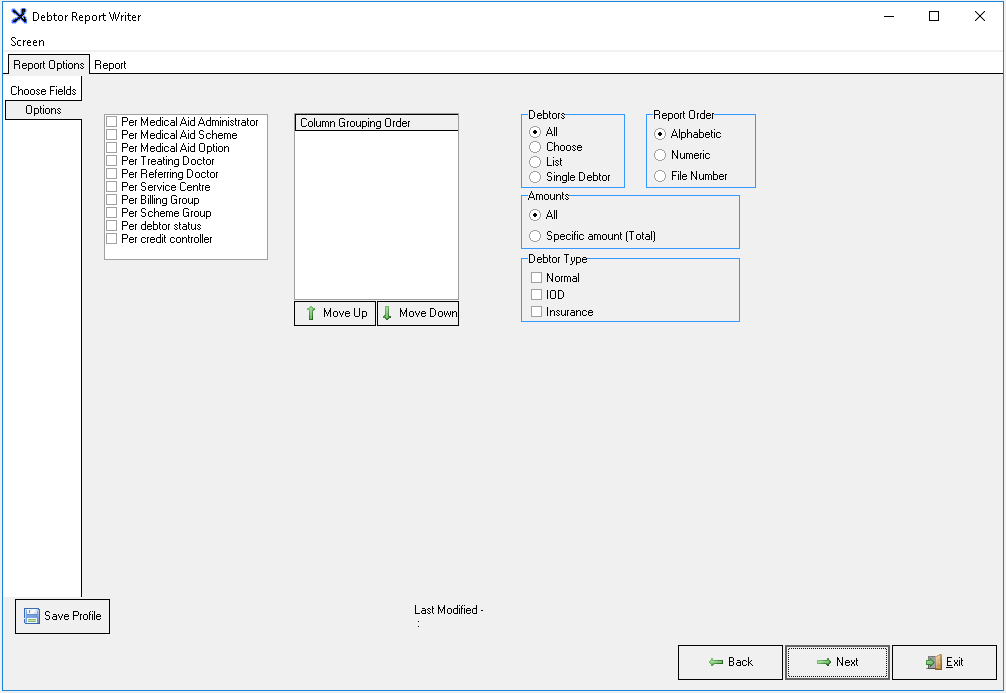
The Debtor Report Writer, Report Options screen will open, in order to set up the new profile.
Click on the corresponding checkbox to select how the columns will be grouped when the report is printed.
Per Medical Aid Administrator: The columns will be grouped by Medical Aid Administrator.
Per Medical Aid Scheme: The columns will be grouped by Medical Aid Schemes.
Per Medical Aid Option: The columns will be grouped by Medical Aid Options.
Per Treating Doctor: The columns will be grouped per Treating practitioner.
Per Referring Doctor: The columns will be grouped per referring practitioner.
Per Service Centre: The columns will be grouped per Service Centre.
Per Billing Group: The columns will be grouped per Billing Group.
Per Scheme Group: The columns will be grouped per Scheme Group.
Per debtor status: The columns will be grouped per debtor status.
Per credit controller: The columns will be grouped per Credit Controller.
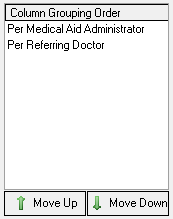
The selected option will move to the Coloum Grouping order section.
Please Note: More than one option can be ticked to sort the columns by.
Column Grouping Order: Allows the user to group the columns into a specific order.
Click on the desired group to select it to change the order on the Grouping Order list.
Click on the Move Up button to move the selected Grouping up on the list.
Click on the Move Down button to move the selected option down on the list.
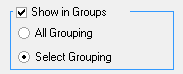
Show in Groups: Will sort the groups according to the selection that has been made.
Tick the check box in order for the report to display in the selected groups.
Select an option by clicking on the relevant radio button:
All Grouping: All grouping will be taking into consideration when the report is generated.
Select Grouping: Allows the user to select only specific options within the selected group to be taken into consideration when the report is generated.
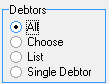
Debtors: Allows the user to select which debtors will be taken into consideration when the report is generated.
All: All debtors' information will be included in the report.
Choose: Allows the user to select which debtors they would like to include in the report.
List: Allows the user to compile a list of specific debtors for whom they would like to generate the report.
Single Debtor: Allows the user to identify 1 debtor for whom they would like to generate the report.
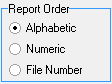
Report Order: How the data on the report will be sorted.
Select an option by clicking on the relevant radio button:
Alphabetic: The data on the report will be sorted from A-Z.
Numeric: The data on the report will be sorted by Debtor ID number from smallest to largest.
File Number: The data on the report will be sorted by file number depending on how the practice has see up their file number system.
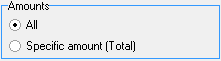
Amounts:
Select an option by clicking on the relevant radio button:
All: All amounts will display when the report is generated.
Specific amount (Total): Allows the user to select a specific total account balance for which the report will be generated.
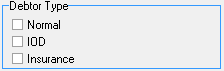
Debtor Type: The type of debtor which the report will use to generate the report.
Normal: The person who is responsible for the account has medical aid or medical insurance.
IOD: Injury on Duty, while the person was on duty at their place of work.
Insurance:
Click on Save Profile once satisfied with the selection criteria that will be used to generate the report. This will be the criteria the report will use by default every time the report is printed in future unless changed.
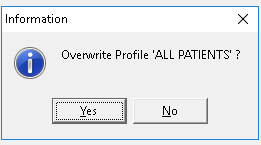
An Information pop-upwill appear to ask whether the user would like to overwrite the current profile.
Click on No to cancel the request the pop-up will close and no changes will be saved.
Click on Yes to save the current selection that has been made. the pop-up will close.
Click Next, to continue.
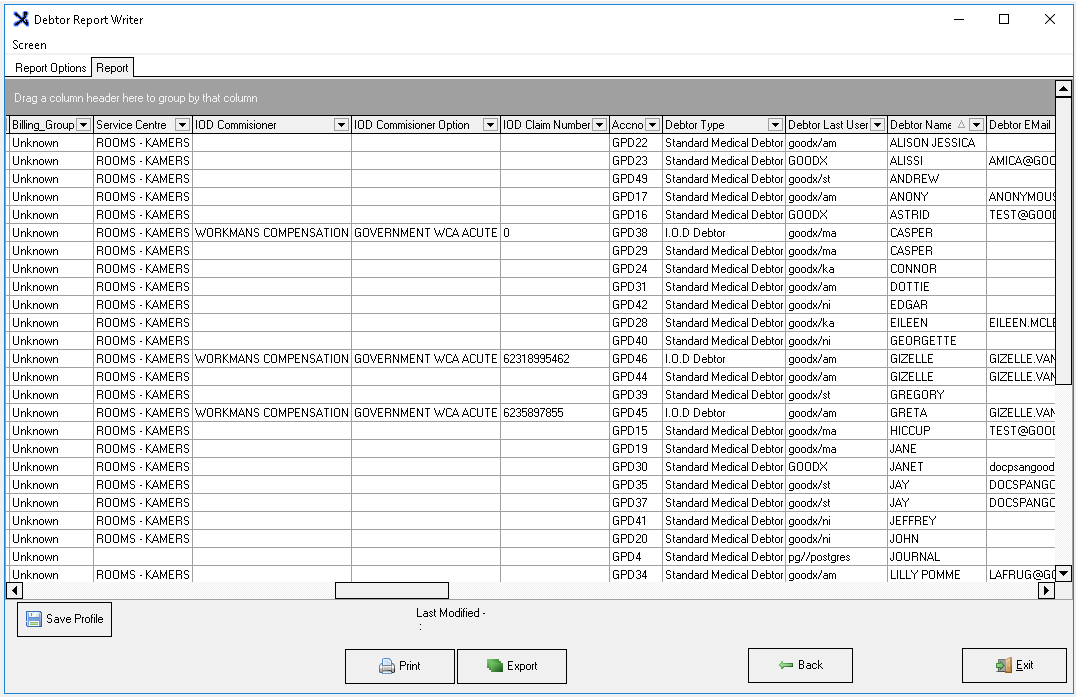
The Debtor Report Writer, Report tab screen will open.
The report will be generated according to the selections that have been made.
Click on Print to print out the Debtor Patient Report.
A preview of the report will print on the screen.
The Debtor Patient report will have E-mail and Print options, for more information regarding these options please refer to the user manual: Options to Print.
Click on Export to save the list on the computer.
The Save As screen will open.
Navigate to where the user would like to save the file on their computer.
File Name: Add a unique file name to the file.
Save as Type: The type of file that will be used to save the Debtor/Patient Report on the user's computer.
Select the file type from the drop-down menu that the file will be saved as.
Click on Cancel to close without saving.
Click on Save to save the file and return to the Debtor/Patient Report screen.
ClickonClose to exit the Debtor/Patient Report screen and return to theChoose a Profilescreen.
Notice that the new profile that has been created has been added to the profile list.
Click on Close to return to the Financial Reports screen.