List of all the Medical Aids Options grouped by the Scheme.
- Sign in to the GoodX Desktop using your GoodX username and password.
- From the Navigator Double Click on the MedDebs Module

- The Main MedDebs screen will open
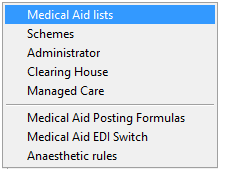
- From the Menu bar, click on Lists

- From the drop-down, Click on Medical Aids

- From the submenu, Click on Medical Aid lists
- You will be directed to the Medical Aid Options screen

Columns
- Option Code: Unique code linked to the medical aid option
- Option Name: Name of the medical aid option plan
- Credit Controller: Specific person/credit controller linked to each medical aid who is responsible for collecting the money from the medical aid
- Switch: Which Switch is used to send claims to the medical aid
- EDI Route Code: The route number to where the EDI will be delivered, each medical aid has specific routing codes that will determine where the claim is delivered
- Scheme Code: Medical Aid Scheme number
- Admin Code: The code of the administrator
- Administrator: Who administrates the specific Medical Aid
- Please Note: All options that are highlighted red have been discontinued and should not be used
Filter
- You can filter for a specific Medical Aid by :
- Administrator: Who manages this medical aid
- Scheme: Medical Aid Name
- Option: Plan name

Adding a New Medical Aid Option
- Disclaimer: It is not recommended or advised to add your own Medical Aid Option, it is suggested that the service provider requests be added by contacting either GoodX or Medprax directly as Medprax manages the information
- Add a new Medical Aid Option by clicking on the + button

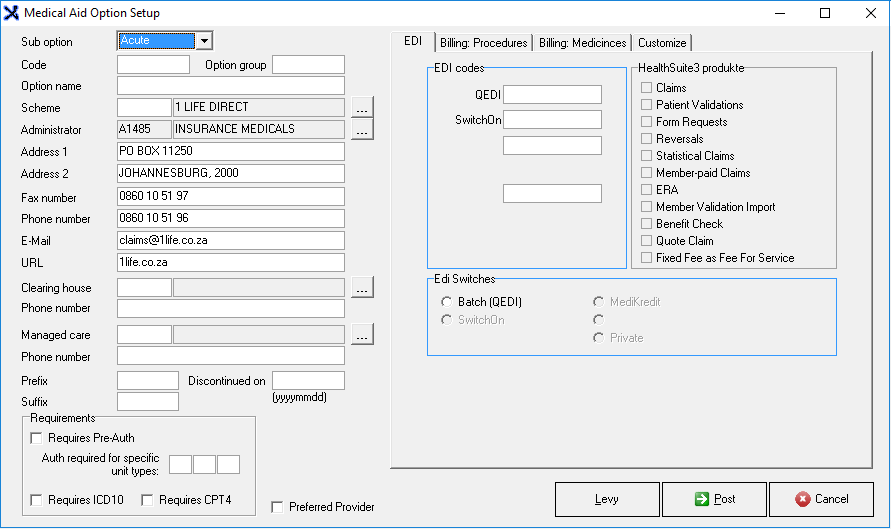
- The Medical Aid Option Setup screen will open

- Fill in all the relevant information
- Sub Option: Option Type -Select from the drop-down list
- Acute: Short Term or Day to Day
- Chronic: Long term illnesses
- Chemotherapy: Cancer Patients
- PAT: Pathology
- Code: The unique code that has been allocated to the specific plan
- Option Name: Plan/Option Name
- Scheme: Medical Aid Name
- Administrator: Who administrates the Medical Aid
- Address 1: Company Address
- Address 2: Company Address
- Fax Number: The number where they receive faxes
- Phone Number: The number where they can be reached telephonically
- E-Mail: The address where electronic mail can be sent
- URL: The website address
- Clearing House: By clicking on the ellipse ... You will be directed to the Clearing House screen where you can add an option from the list
- Phone Number: Will be filled in automatically once you have selected an option
- Managed Care: You will be directed to the Managed Care Options screen where you can add an option from the list
- Phone Number: Will be filled in automatically once you selected an option
- Prefix: This will be determined by Medprax and should be left blank
- Suffix: This will be determined by Medprax and should be left blank
- Requirements
- Requires Pre-Auth: Requires Pre-Authorization
- Auth required for specific unit types: Authorization is needed for specific unit types
- Requires ICD10: Requires an International Classification of Diseases code
- Requires CPT4: Requires a Current Procedural Terminology, 4th Edition code
- Preferred provider: Indicates whether the option is a preferred provider when the check box is ticked


EDI
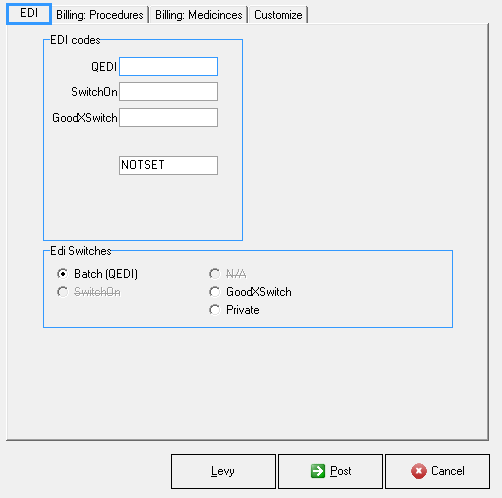
- You are also able to add the EDI Information on the right side of the screen
- EDI Codes: The EDI codes used to switch
- QEDI: (Discontinued-No Longer in use)
- SwitchOn: (Discontinued-No Longer in use)
- GoodXSwitch: The EDI code used in GoodXSwitch
- Edi Switches:
- Batch (QEDI): Use batch QEDI to switch (Discontinued-No Longer in use)
- GoodX Switch: Uses GoodXSwitch to switch claims (Discontinued-No Longer in use )
- Private: Switch privately - Patients pay Cash/Credit card/EFT
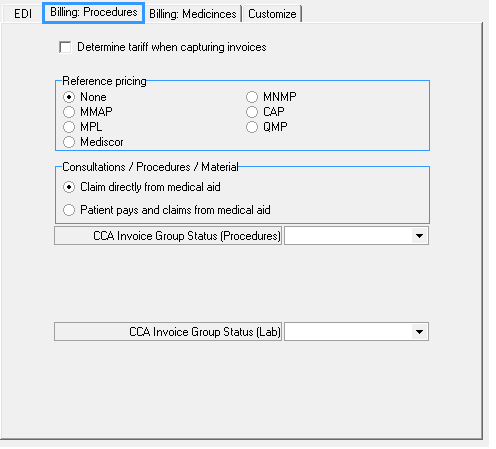
Billing Procedures
- You can set up the Billing Procedures by clicking on the Billing Procedure Tab
- Determine tariff when capturing invoices:
- Reference pricing
- None: Does not use reference pricing
- MMAP: Maximum Medical Aid Price
- MPL: Maximum Possible Loss
- Mediscor: Use Mediscor Pricing
- MNMP: Maximum Namibia Medicine Price
- CAP: An agreement obligating the seller to make payments
- QMP: Quality Medical Publishing
- Consultations /Procedures/Material
- Claim directly from Medical Aid: Will be claimed from the Medical Aid on behalf of the patient
- Patient pays and claims from Medical Aid: Patient will pay for Consultations /Procedures/Materials at the practice and claim from the medical after
- CCA Invoice Group Status (Procedures): Options will appear when CCA is setup
- CCA Invoice Group Status (Lab): Options will appear when CCA is setup
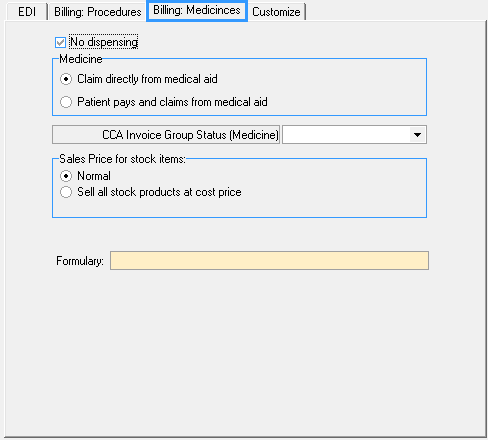
Billing: Medicines
- You can set up the Billing: Medicines by clicking on the Billing Medicines Tab
- No dispensing: Non-Dispensing practices will check this box
- Medicine
- Claim directly from Medical Aid: Will be claimed from the Medical Aid on behalf of the patient
- Patient pays and claims from Medical Aid: Patient will pay for the medication at the practice and claim from the medical after
- CCA Invoice Group Status (Medicine): Options will appear when CCA is setup
- Sales Price for stock items
- Normal: Price with added mark-up
- Sell all stock products at cost price: Stock will be sold for the same amount as what the practice paid for it
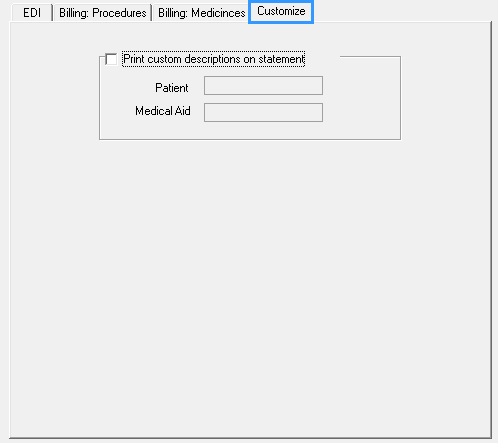
Customize
- You can Customize descriptions on statements by clicking on the Customize Tab
- Print custom descriptions on statement
- Patient: Debtor Statement
- Medical Aid: Medical Aid Statement
Editing a Medical Aid Option from the List
- Edit a Medical Aid Option by clicking on the button with a triangle on

Show/Hide Inactive
- To Show or Hide Inactive codes click on the button Show/Hide Inactive Codes

- When Shown you will see a yellow text box that reads:
- Please note: Options flagged as inactive are displayed in blue

- When Hidden you will see a yellow text box that reads:
- Please note: Options flagged as inactive are not displayed

Options
- For more options click on the Options button or Right-click on the selected line
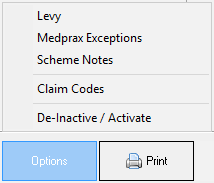
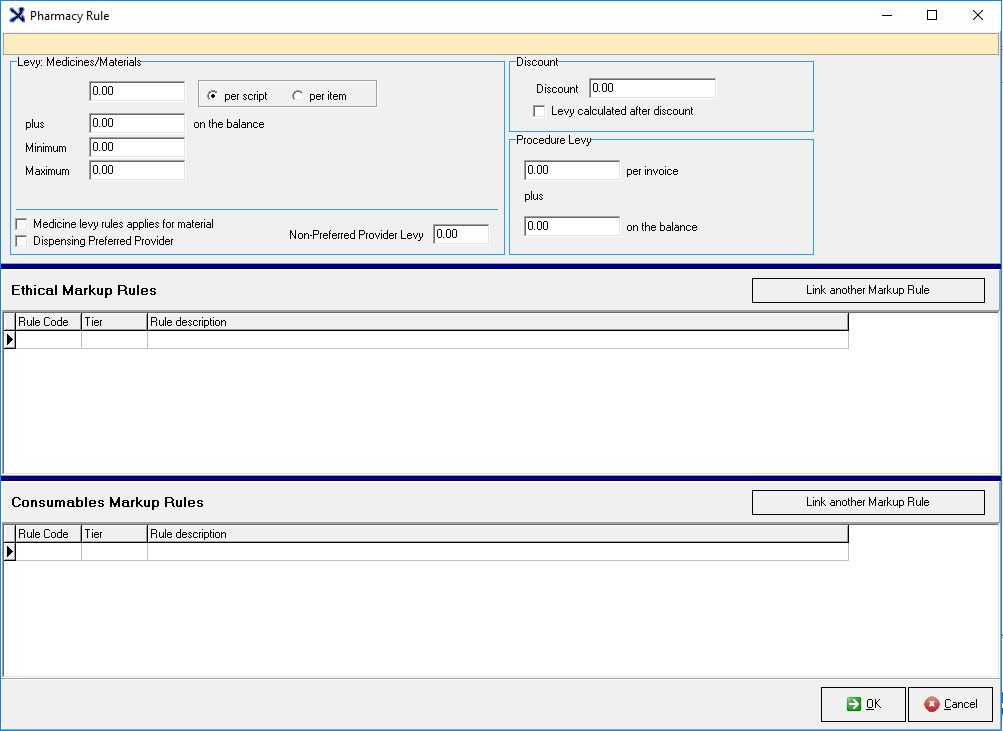
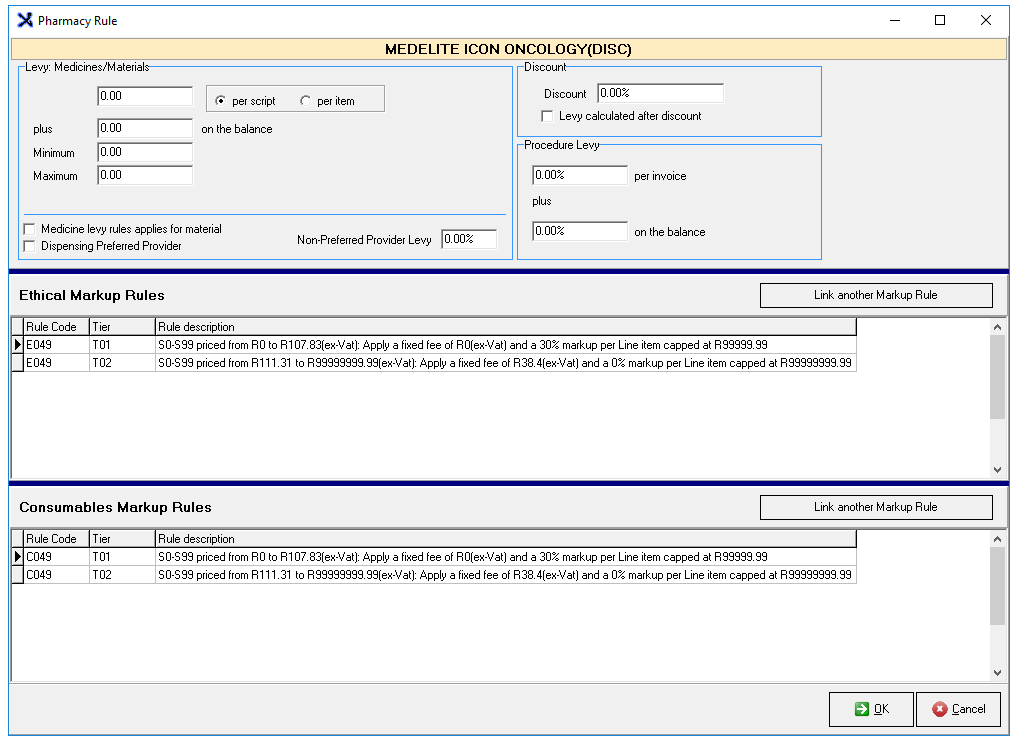
- Levy: Opens the Pharmacy Rule Screen
- Medprax Exceptions: Opens the Medprax option selection screen

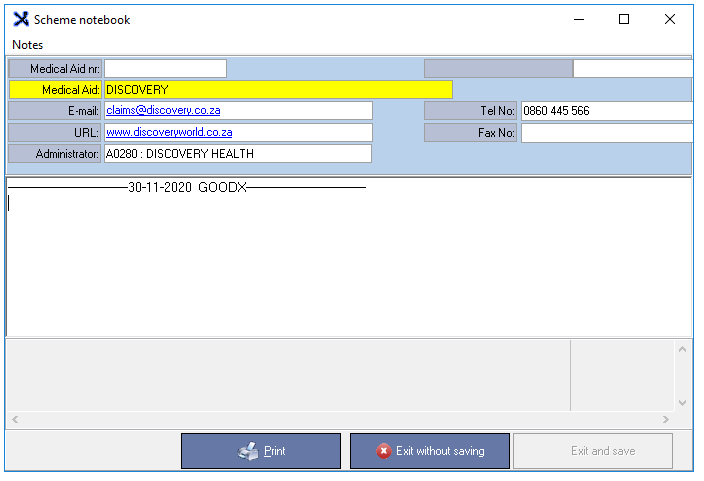
- Scheme Notes: Opens the scheme notebook screen where you can makes notes
- Claim Codes: Loads a list with medical aid claim codes

- De-Inactive/Activate: Flags an option as inactive/active
Print
- Use the printer button to print the list

- Specify the columns you would like to print
- Click on Next to continue to print

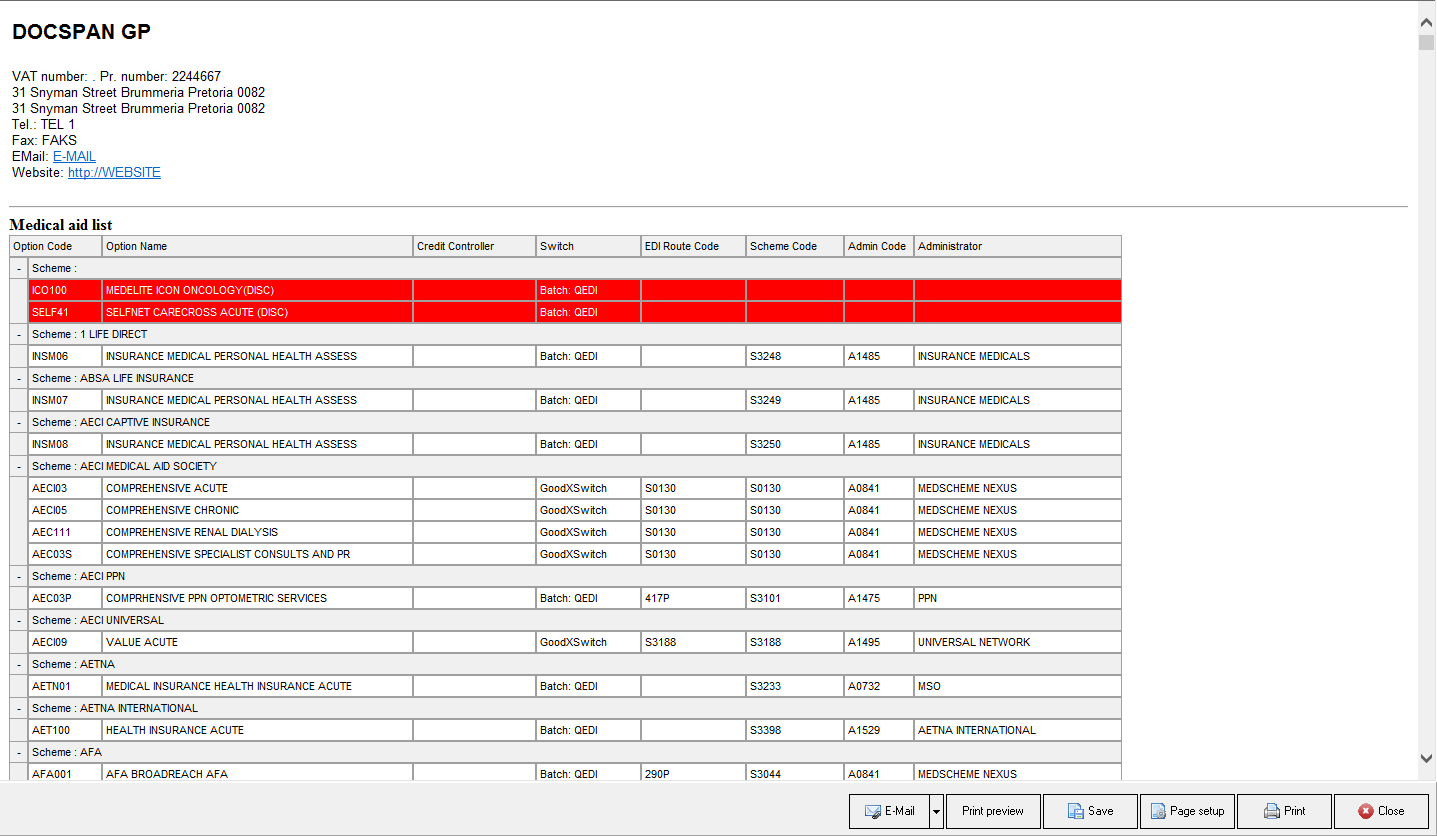
- You will have the following options to do with this list :
- Email: Email the list
- Print Preview: Preview how your list will look when you print a hard copy
- Save: Save a digital copy to your computer
- Page Setup: Opens the page setup screen
- Print: Prints to the Set-up printer
- Close: Closes the screen and returns to the Medical Aid Options screen
Last modified: Thursday, 17 December 2020, 2:44 PM


