When creating an invoice where an assistant was involved you will be billing the patient to pay the assistant on the same invoice so that the patient only receives one invoice from the Main Treating Doctor
You are able to link an assistant to an invoice by using the assistant code while billing the procedure.
Ensures that when a user posts a Debtor credit note on an invoice with assistant codes, a Creditor's Credit note (debit note) will automatically be posted.
- Sign in to the GoodX Desktop using your GoodX username and password.
- From the Navigator Double Click on the MedDebs Module

- You will be directed to the Main MedDebs screen
- Create a new invoice by clicking on the Invoices icon on the Toolbar the main MedDebs Screen this will direct you to the Invoice screen

- The Multiple Invoices screen will open

- Search for the debtor
- Normal Billing rules need to be applied - Choose the correct procedures
- Then you can also add the relevant assistant tariff code in this case 0008
- As soon as you add the assistant tariff code a pop-up screen will appear where you can link your Assistant to the invoice
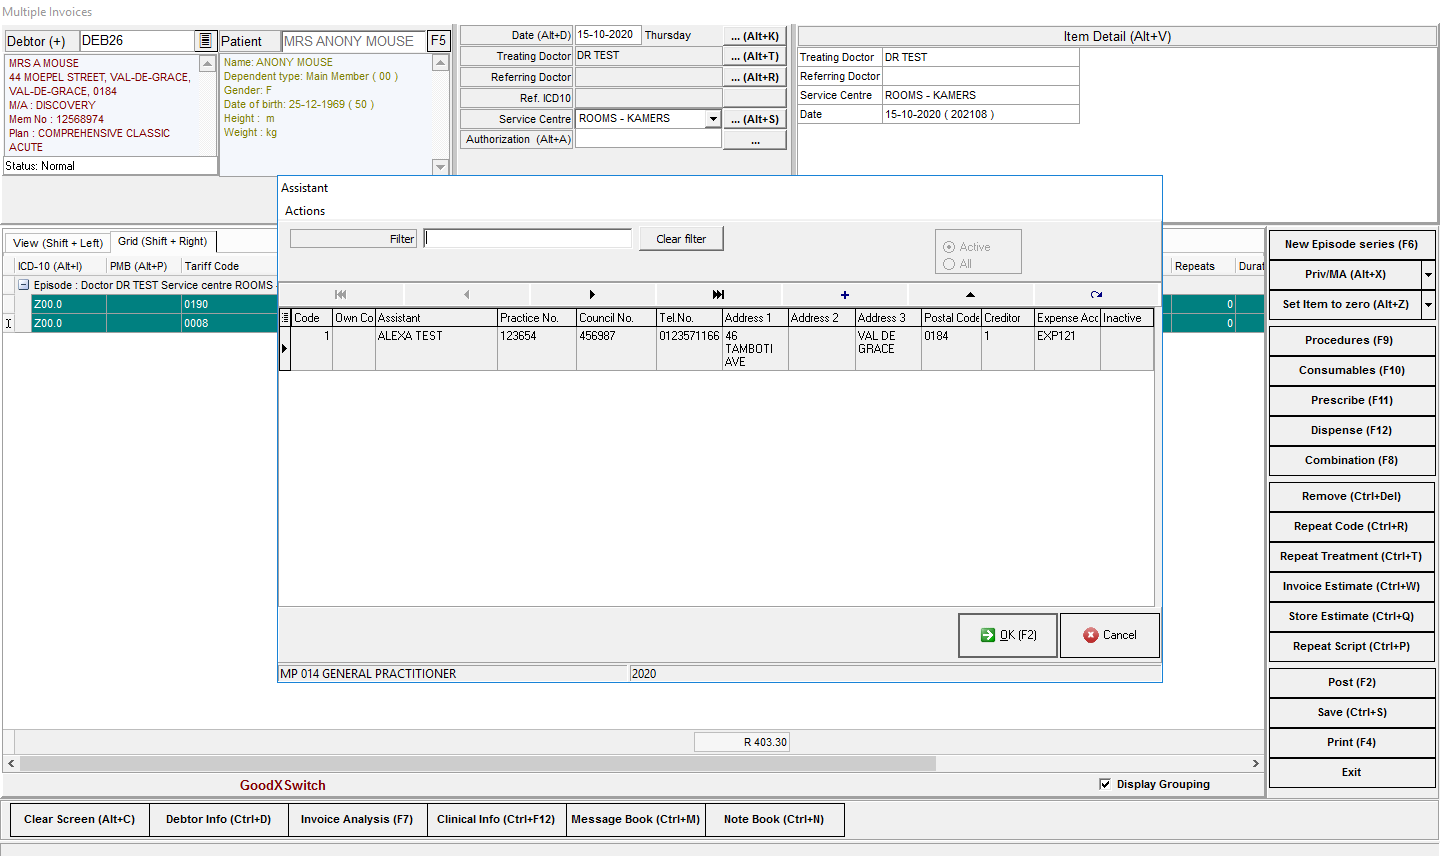
- Select the preferred assistant by clicking on their name
- Click on OK to link the assistant to your invoice

- The modifier screen will appear to show which procedures the assistant can be paid for.

- After adding the assistant code you will see that a portion of the costs of the procedures you have linked to the assistant will be allocated to them.

- On the invoice, the transaction will appear as a line item:

- A Creditor's Invoice will be done automatically when an Assistant code is added to a Debtors invoice if the assistant is correctly linked to a creditor setup
- To view this, follow these next steps:
- From the Navigator double click on the Creditors Module

- Click on the Fixed Data Icon from the toolbar on the main Creditors screen

- You will be directed to the Creditor Input screen
- Search and Select for the applicable Assistant

- Click on Account or use the F9 key (shortcut) to view your creditor's account

- You will be directed to the Creditors Account Screen where you will be able to see the automatically posted invoice

Credit Note on Debtors Account
- A Creditor's credit note (debit note) on an invoice with assistant codes will be done automatically when a credit note is made on a Debtors invoice if the assistant is linked to a creditor setup
- To create a Credit Note:
- From the Menu Bar on the main MedDebs screen
- Click on Transactions and select Credit Notes (New Interface)

- Select the Period in which the transaction should be posted

- Select the debtor you would like to do a Credit note on and the date that you would like to post the credit note
- In the reference text box, type the reason why you are doing a credit note
- Select the item where assistant code is applicable (in this case 0008) on the list
- In the yellow highlighted column type in the quantity of the item to be credited (for this example 1)
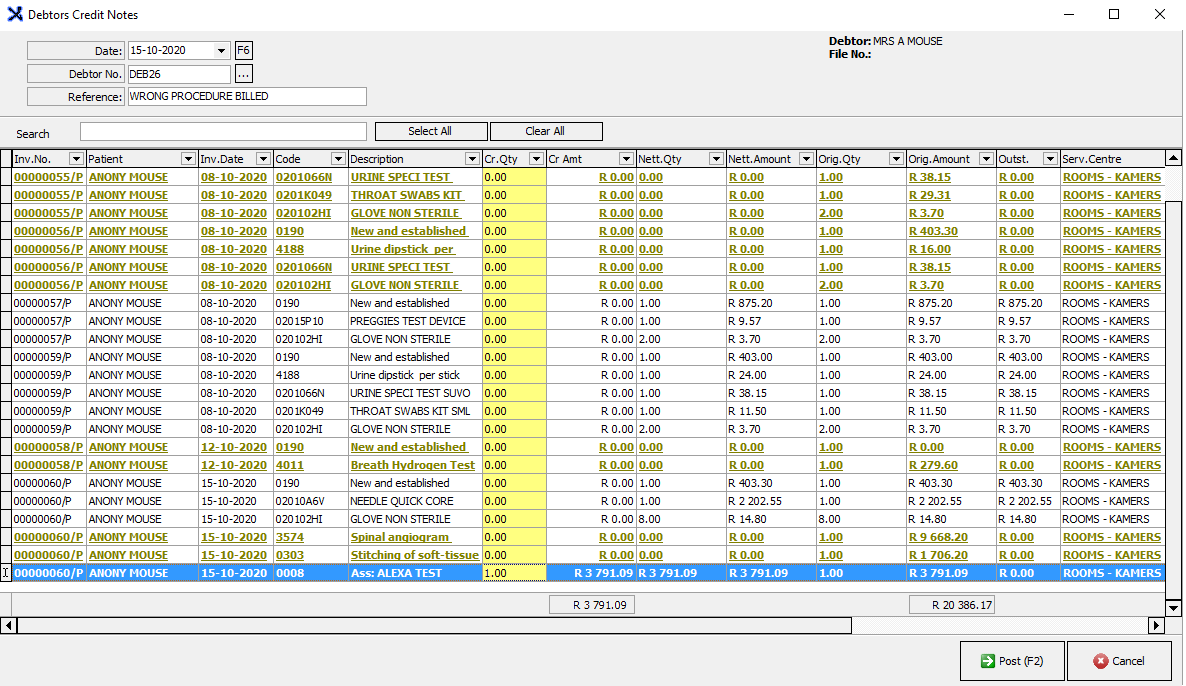
- Click on Post or the F2 key on your keyboard (shortcut) to post the credit note

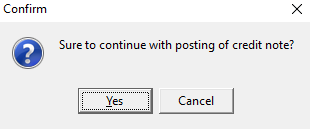
- Confirm if you are sure that you would like to post the Credit Note by clicking Yes or Cancel if you need to make changes
- The screen will automatically close after being posted successfully
To confirm that the credit note was automatically created on the Creditor (Assistant) you will follow the following steps
- From the Navigator double click on the Creditors Module
- Click on the Fixed Data Icon from the toolbar on the main Creditors screen
- You will be directed to the Creditor Input screen
- Search and Select for the applicable Assistant
- Click on Account or use the F9 key (shortcut) to view your creditor's account
- You will be directed to the Creditors Account Screen
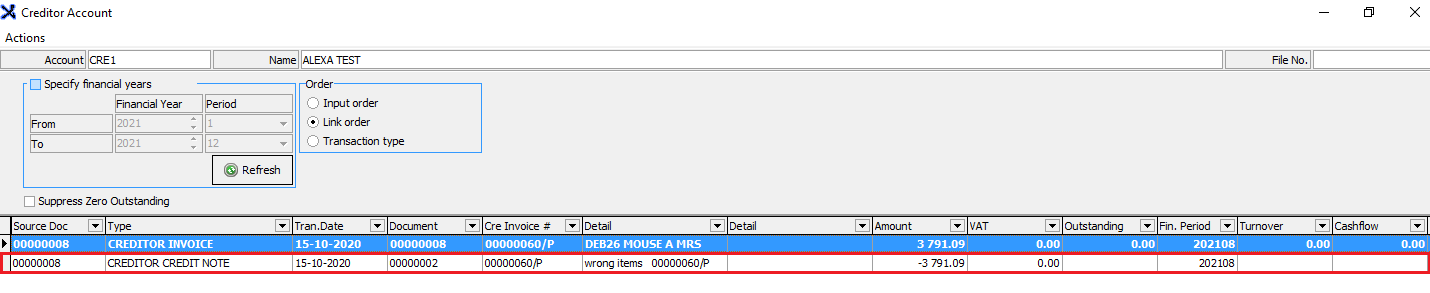
- Here you will see that the transaction was invoiced and automatically posted
- You will see the automatic debit note generated on the creditor (Assistant)

- You are able to
- Reprint document - Click on the invoice/credit note you will then be able to reprint your creditor's credit note

- Print screen - Prints the transactions on the account screen
- Export - Export the list to an Excel Spreadsheet in a .xls format
- Print - Prints a Creditors statement
- Close - To exit to the previous screen, Creditors Input list
Last modified: Wednesday, 2 December 2020, 1:50 PM