How to Set Up an Operation
An Operation is a medical procedure that is performed by a team of Specialist medical professionals such as Surgeons and Anaesthesiologists with nurses that assist. Surgeons repair damaged tissue, mend broken bones, remove malignant tissue or tumours etc.
Most Operations involve incisions that are made which will be mended by the use of stitches, staples and/or glue when the procedure is completed. Certain procedures can be done endoscopically, and are non-surgical, but still requires the Patient to be sedated.
A Theatre booking will be made to advise, when and where the surgery will take place, who is involved and what procedures will be performed during the operation. For more information on how the Theatre Manager works, please refer to the user manual: Theatre Manager Overview.
- The contents of this User Manual will consist of the following information:
- Operation Info
- Theatre Details
- Operation Team
- Operation Details
- Patient Details
- Progress
- Billing
- Email and Print
- This user manual will start on the Operation screen, the user will first need to create Theatre Timeslots on the diary to be able to book an Operation, using the Theatre Manager.
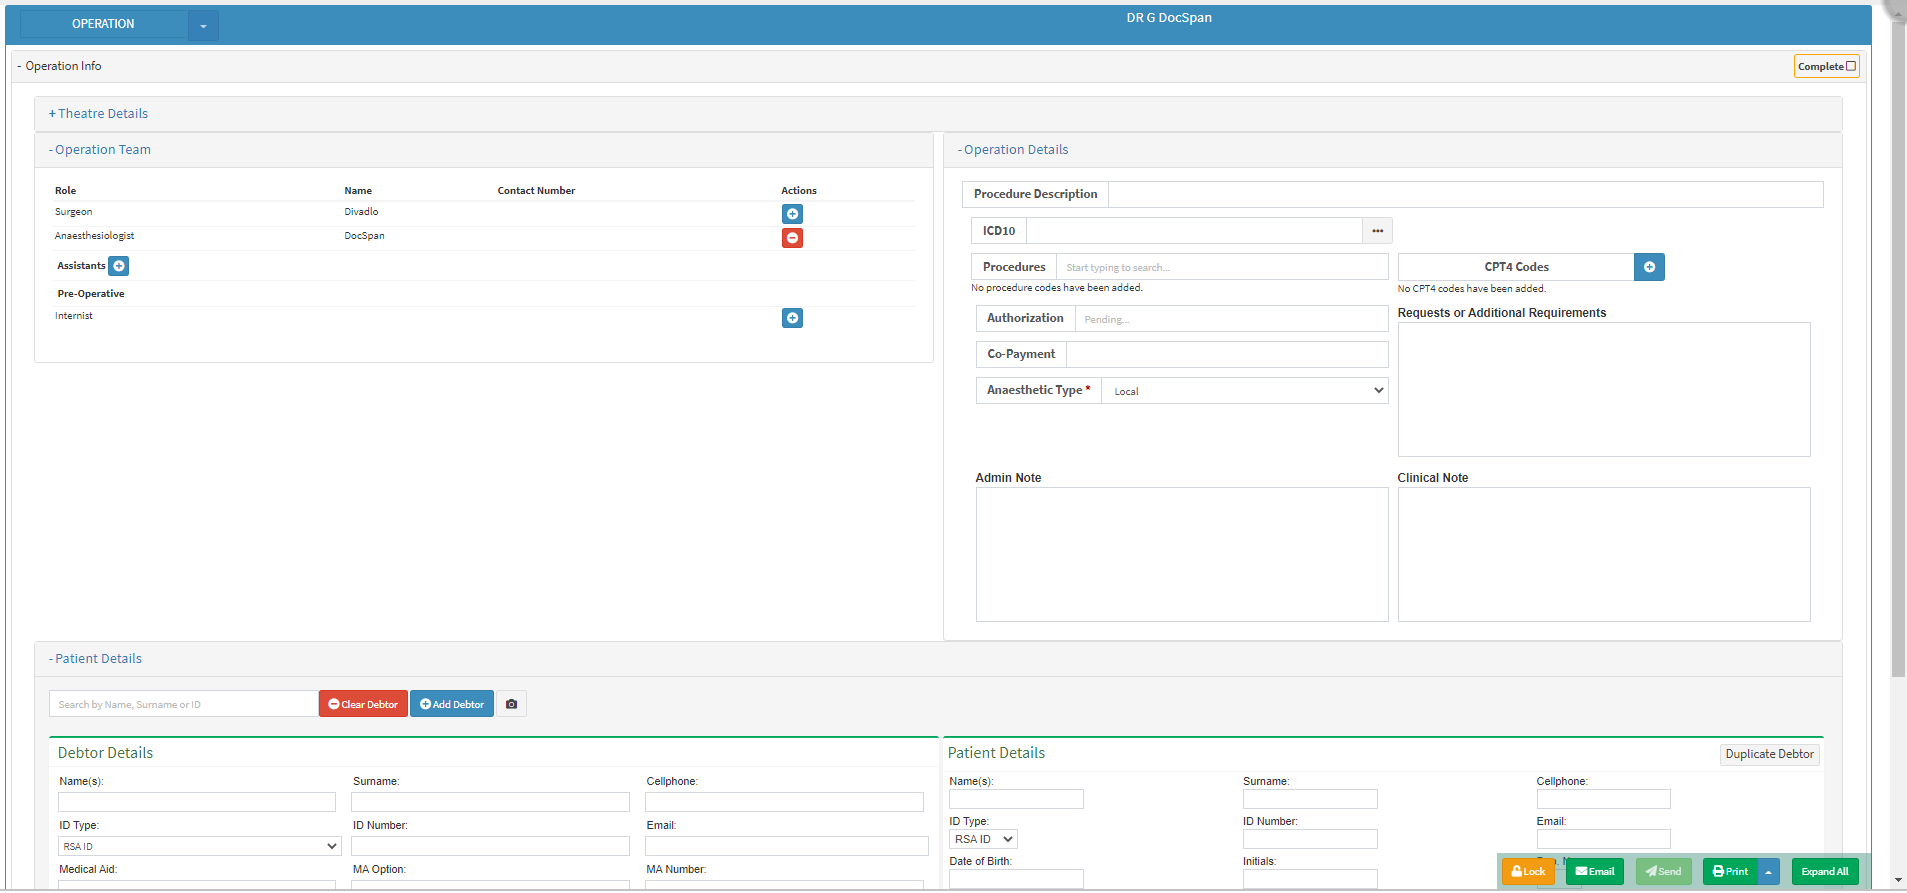
Operation Info
All the information that relates to when and where the Operation will take place, who the Patient is, which medical staff will be present during the surgery, and the procedures that will be performed.
Theatre Details
- Click on the Theatre Details panel to access the information of where the Operation will take place.

Please Note: The information that will be completed by default, is the same information that was entered when the Theatre List was created.
- An explanation will be given for each field:
![]()
- Diary: The name of the Diary of the Practitioner where the theatre booking was made.
- Click on the Diary drop-down menu to select the desired Diary.
Please Note: The Diary drop-down will only be available for Practices with more than one diary.
![]()
- Operation Start Time: When the Operation has been scheduled to start HH:MM (24-hour time format).
- Click on the Operation Start Time field to select a start time from the drop-down menu that has become available.
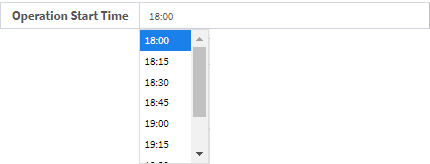
- Click on the desired time to make a selection.
Please Note: The times that will be available on the drop-down menu will correspond to the times on the Theatre List.
![]()
- Operation Duration: The amount of time that operation will take in minutes. The Operation Duration field is a numeric field.
- Click on the Operation Duration field to enter the desired number of minutes for the operation.
![]()
- Operation Date: The year, month and day (yyyy-mm-dd) that the operation will take place.
- Click on the Operation Date field to open the date picker to select the date when the operation will take place. The date will by default be the date that was selected on the diary to make the theatre booking.
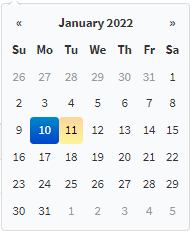
- Click on the desired date to make a selection.
- Available Theatre Lists for this Diary (Select one to move operation): Advises the user of the active theatre list on the selected diary.
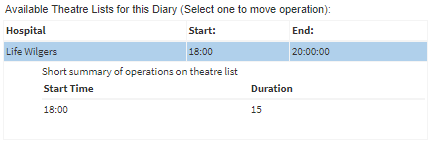
- Hospital: The medical facility where the available Theatre Lists are.
- Start: The hour and minutes (HH:MM) when the Theatre Booking Timeslots will start on the diary.
- End: The hour, minutes and seconds when the Theatre Booking Timeslots will end on the diary.

- An explanation will be given for the information that will appear on the Operation Team panel:
- Role: The classification of the members' responsibilities within the operating team.
- Name: The last name of the member of the operating team.
- Contact Number: A telephone number where the member of the operating team can be reached.
- Actions: Allows the user to add and delete new members to and from the operation teams.
- Click on the + button to add a new member to the operating team.
![]()
- Click on the - button to remove the corresponding member from the operating team.
![]()
Operation Details

- For a detailed explanation of each field in the Operation Details panel, please refer to the user manual: Operation Details.
Patient Details

- For more information on how to Add a New or Existing Patients' information to the Theatre booking, please refer to the user manual: Book Theatre Patients (Step 3).
Progress
Indicates the status of the operation related administration and assessments that the Patient, Hospital Reception or the Practitioner/Allieds completes pre- or post-operation.
- Click on the Progress panel.
![]()
- The Progress panel will expand.

- An explanation will be given for the information on the panel:
- Item: The name of the document/consent form etc. that is required to be completed for the operation.
- Status: Will show whether the task/item has been completed by the Patient or not.
- Incomplete: The task/item has not been uploaded or submitted as specified for the operation, and the user still needs to upload or complete the necessary documents.
- Completed: The task/item has been uploaded or submitted successfully as specified for the operation.
- Tick the corresponding checkbox to change the status from Incomplete to Completed.
![]()
- Actions: The user is able to upload certain required documents in specific formats, send required documents to the Patient via SMS and Email, send documents to the Kiosk, create new documents, upload PDF versions of previously completed documents as received from Patients, and view previously uploaded documents.
Please Note: The required documents/consent form/task or items that are available on the list will be dependent on the setup of what the Practice requires from the Patient.
Billing
Allows the Anesthesiologist to bill the Patient directly from the Theatre Booking. Only Anesthesiologists will be able to use the Billing section.
- Click on the Billing panel.
![]()
- The Billing panel will expand.
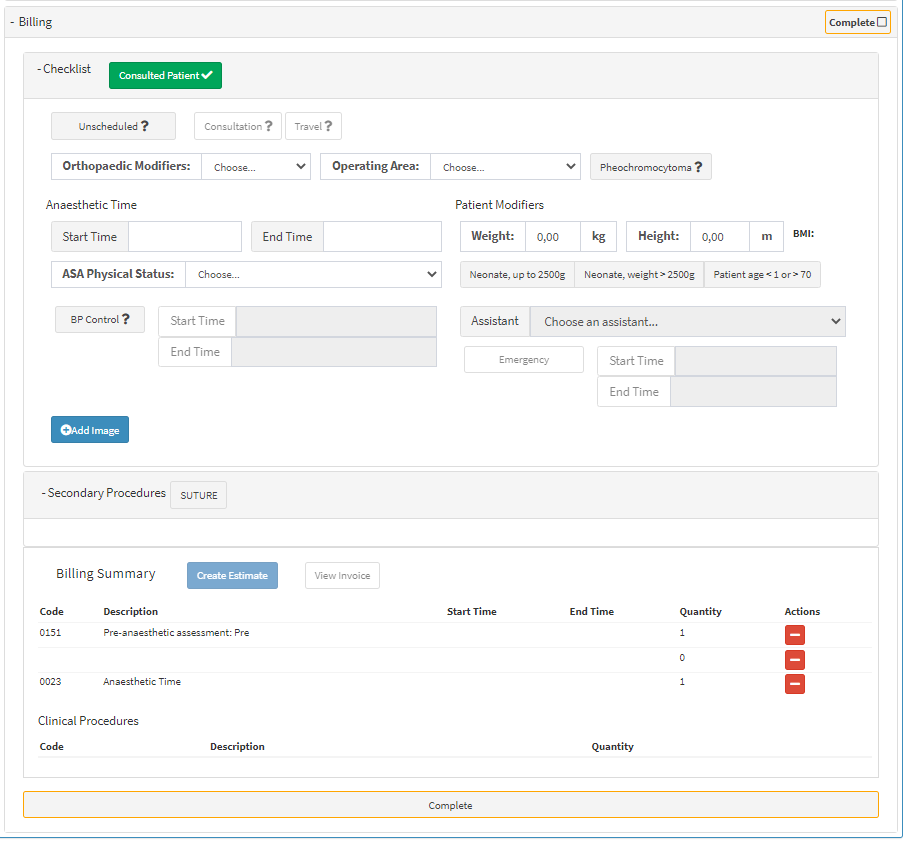
- For an extensive explanation of the Billing Panel, please refer to the user manual: Anaesthesiologist Billing from Operation Booking.
Email and Print
Allows the user to Email and/or Print all the details of the Operation.
- Click on the Email button to send the details of the Operation to an email recipient of the users' choice.
![]()
- Click on the Print button to print a hard copy of the Operation Form.
![]()
- The Print screen will open. The Operation Form will display on the screen.
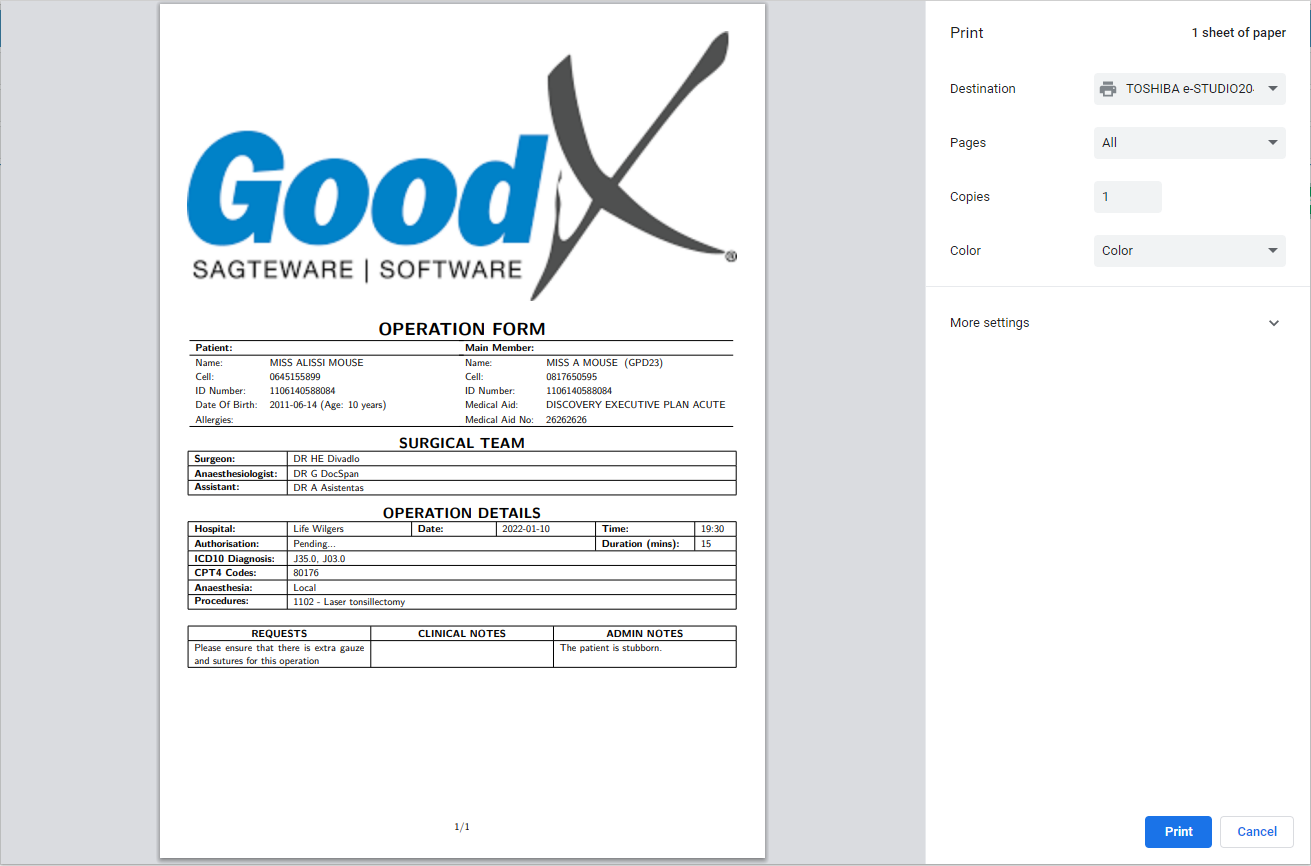
- Click on the Cancel button to cancel the printing of the Operation Form.
![]()
- Click on the Print button to print the Operation Form.
![]()
- Click on the Print drop-up menu to open print options.

- Click on the Download button to save the Operation Form in PDF format to the users' computer.
![]()
- Click on the Close button to close the Operation details and return to the Diary screen without saving.
![]()
- Click on the Save button to save all the details of the Operation.
![]()