The Notebook is an internal tool designed to help Staff efficiently document account-related information, communication logs, and key administrative notes within a Debtor’s electronic file. It automatically records all SMS and email correspondence with Debtors, providing a clear and organised record for account management. This feature is intended solely for authorised PracticeStaff and should not be used to document Clinical notes or store personal or sensitive Patient information, ensuring a clear separation between administrative and clinical data.
?Please Note: The Notebook screencan be accessed wherever the Notebookbutton is displayed.
This user manual will start on the Notebook screen.
All fields and options on the Notebook screen will be explained below:
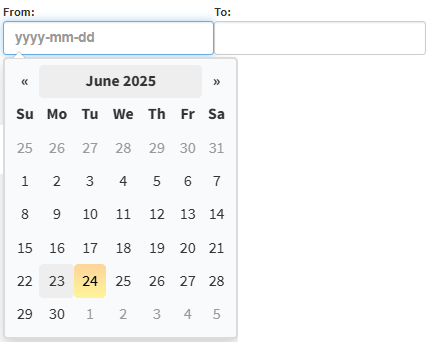
You can filter notes by selecting specific dates using the From and To fields, allowing you to view entries within a defined time range.
The Refresh button updates the list and clears all applied filters, displaying the full set of Notebook entries.
The Select All button is used to apply all available filters at once. Blue ticks will indicate selected filters.
The De-selectAll button removes all selected filters. If all filters are unchecked, the Notebook screen will appear empty, as no entries match the criteria.
The Tick boxes can be individually selected or deselected, allowing you to customise which columns or entry types are visible on the Notebook screen.
A new Admin Event can be created from the Create New Admin Event drop-down menu, directly from the Notebook screen.
?Please Note: The following buttons will be visible on the interface but will appear greyed out and inactive until the required action or selection is made. Once the necessary criteria are met, the buttons will become enabled and ready for use.
Print: Allows the user to print a hard copy of the Notebook.
Download: Allows you to download the Notebook entries and save a local copy for future reference or offline access.
Email: Allows you to send the Notebook entries electronically via email to the Patient and other designated recipients, ensuring quick and efficient communication.
Call Event: Notes or logs related to phone call events made or received.
Consent Form: Documentation showing Patient or Practitioner consent for treatment or data sharing.
Email: Email messages sent to or from the system, including clinical or admin communication.
Fax: Faxed communication logged in the system, either sent or received.
Grand Central Blue Buttons: Likely refers to data sharing via the Blue Button initiative (viewing or exporting Patient health records).
Grand Central Patient EMR: Entries sourced directly from the Patient’s Electronic Medical Record (EMR) via the Grand Central integration.
Grand Central Share Info: Records of shared information (e.g. summaries, referrals) sent via the Grand Central module.
Grand Central SyncVite: Synchronised invitations (e.g. appointment, telehealth) through Grand Central.
Note: General notes written by Staff, including clinical, admin, or operational content.
Patient Survey: Feedback or survey responses completed by the Patient.
Payment Request: Requests sent to Patients or Debtors for payment (via email, SMS, etc.).
Scheme Auth: Records related to authorisation requests sent to Medical Aids or schemes.
Sms: Text messages sent/received (including appointment reminders or alerts).
Task Item: Tasks assigned to Staff, often tied to a workflow or reminder.
Telemed: Telemedicine interaction logs, e.g. video consult notes or appointments.
Theatre Booking: Booking entries for surgical theatres.
Theatre List: The full list of scheduled surgeries or Patient bookings for the theatre.
Treatment Plan: A documented treatment plan created or edited for the Patient.
Whatsapp: WhatsApp messages logged through the system's WhatsApp integration.
The information on the Notebook screenwill be divided into columns:
Reference Number: A system-generated number to reference the entry on the Notebook.
Type: The Event Type of the communication that was sent.
Message: The contents of the message that has been sent.
Status: An indication if the message was sent, scheduled to be sent or waiting to be sent.
Debtor Number: The account number of the person responsible for the payment of the account to whom the communication was sent.
Debtor: The name and surname of the person who is responsible for the payment of the account.
Patient: The name and surname of the Patient to whom the message has been sent.
Created Timestamp: The date that the communication was created to be sent. The timestamp will consist of a date YYYY-MM-DD and time HH:MM.
User: The system user who actioned the communication that was sent.
Task: When a task was created for a specific event, the details thereof will display here.
Reply: If the recipient replied to the SMS or E-mail that was sent to the Practice by the recipient, the information thereof will display here.
Recipient: The contact number or email address to which the communication has been sent.
Actions: Allows you to perform different actions available, and gives an additional option to select from.
Click on the View button to view the note made on the Notebook.
Click on the Resend button to resend communication.