This function can be used to remind Patients of their Appointments in order to reduce "no-shows". Please refer to the related button for the settings. Please Note: This function needs to be pre set up in order for it to work.
The contents of this User Manual will comprise of the following information:
Bulk Reminder SMS
Delayed Reminder SMS
Booking Reminder Emails
Email Attachments
Bulk Reminder SMS
Sign in to the GoodX WebApp using your GoodX username and password.
On the Diary screen, Click on Admin on the Task Bar.
Click on CRM on the Menu Bar.
Click on Booking reminder SMS tab.
Select the Entity and Diary from options available on the dropdown menu.
Filter the start and end date in the Booking date Range.
Click on Filter Bookings.
Click on Send Bulk SMS.
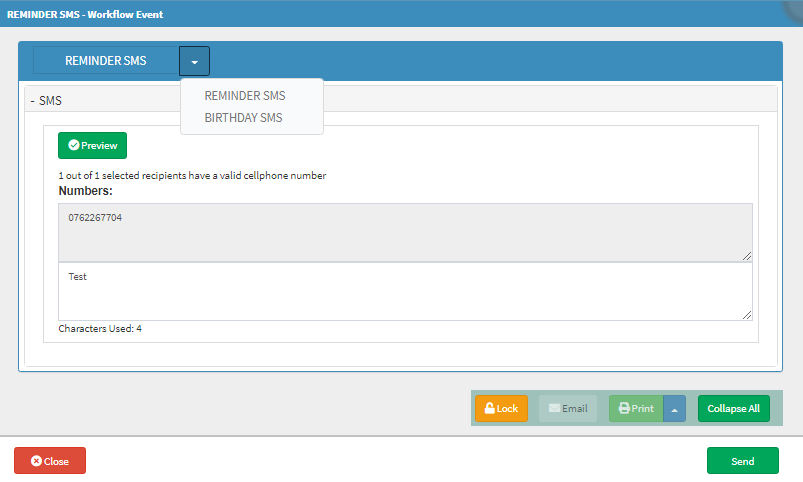
The SMS Workflow Event will open.
From the drop-down next to SMS, the SMS Templates that was set up will be listed.
Select the Template that will be used.
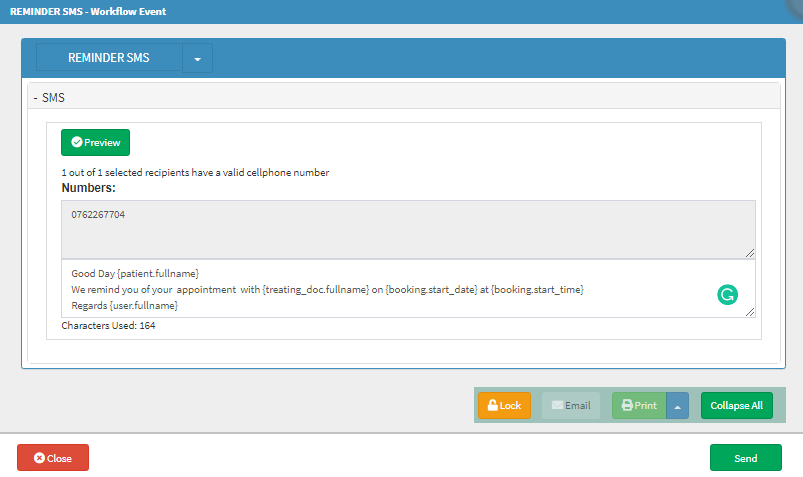
The SMS template will show with the Patients cell numbers that the SMS will be sent to.
Click on Send to send the bulk booking reminder messages.
Delayed SMS
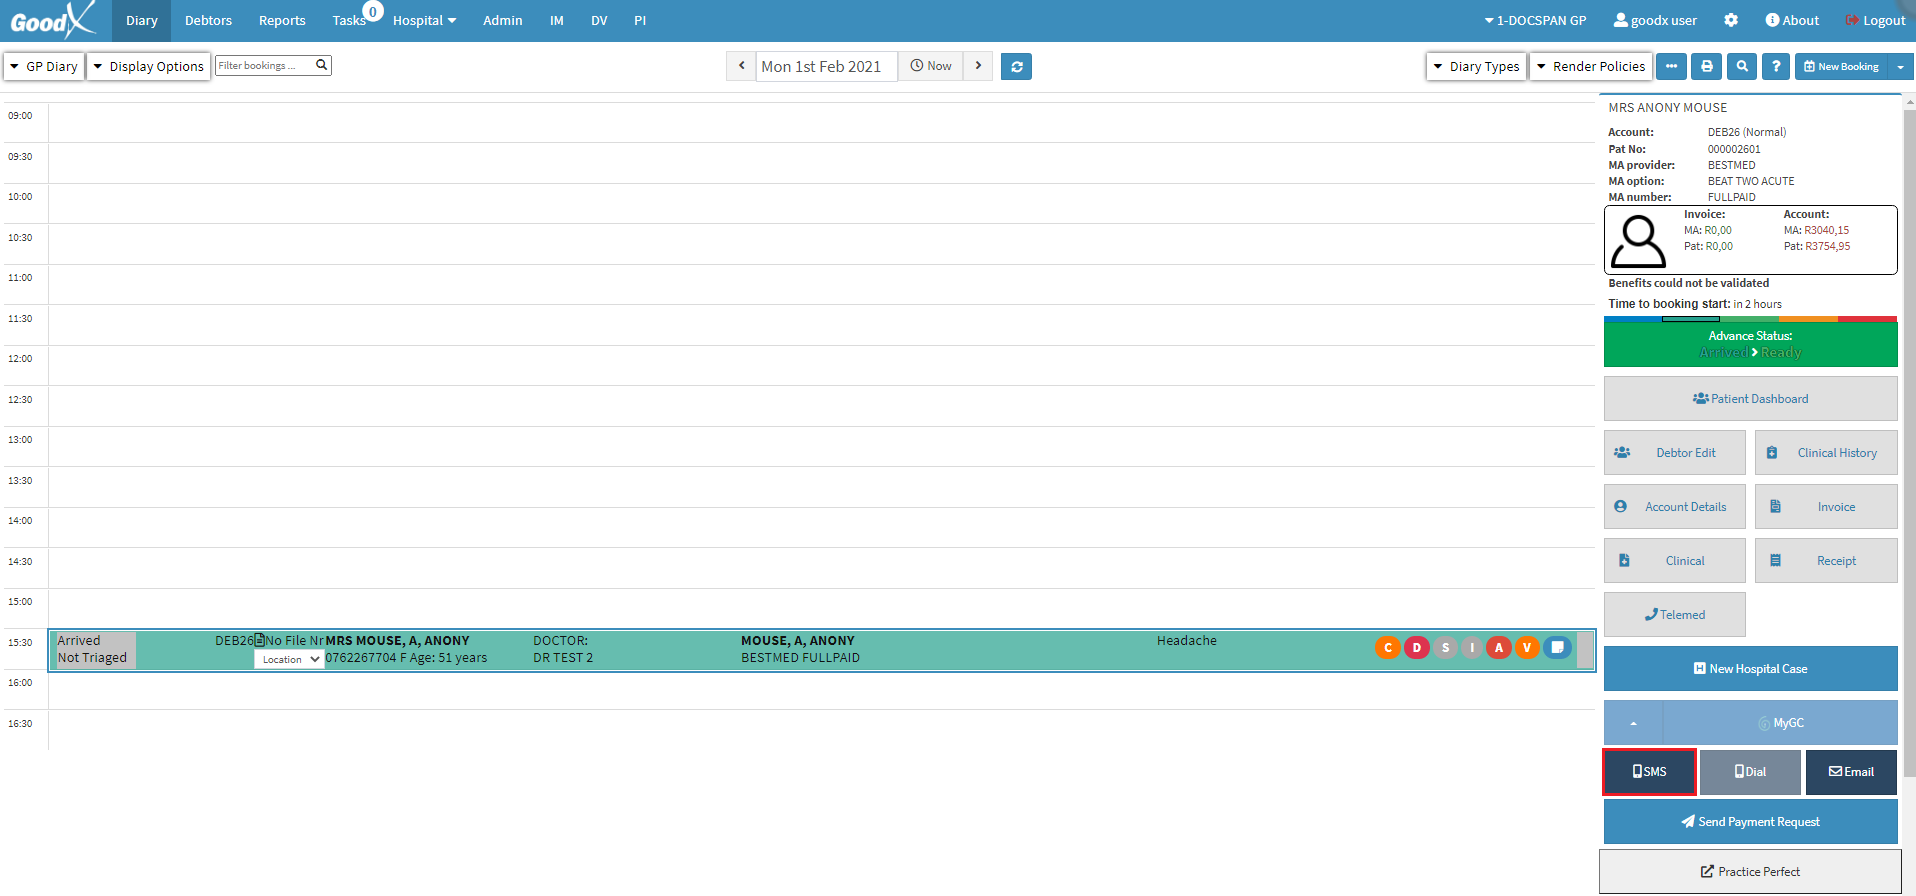
From the Diary screen Select a debtor that an SMS will be sent to.
On the sidebar Click on SMS.
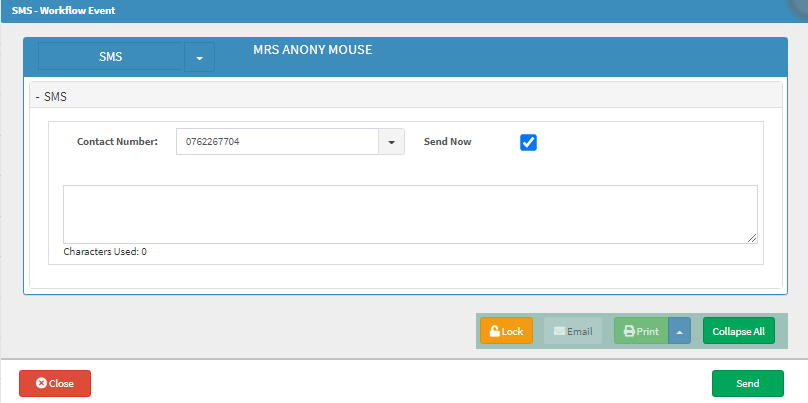
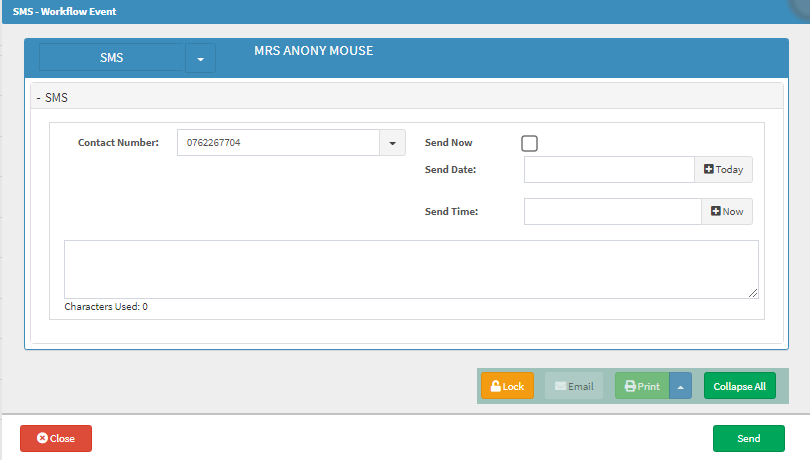
The SMS-Workflow Event pop up will appear.
The Send Now option will automatically be ticked.
To send the SMS at a later stage untick the Send Now option.
A section will appear to allocate a:
Send Date: Select a date from the Calendar.
Send Time: Select a time from the available options or type a specific time.
Click on Send to Save the timeslot to send the SMS at the chosen Date and Time.
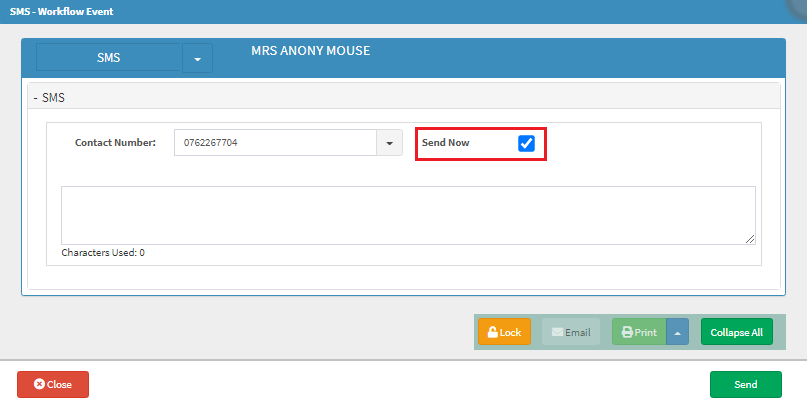
To send the SMS immediately, tick the Send Now box.
Click on Send to send the SMS.
TAKE NOTE: All SMS that is sent from the system will be logged under the Admin Event History. For more information on the History, click on the link.
Booking Reminder Emails
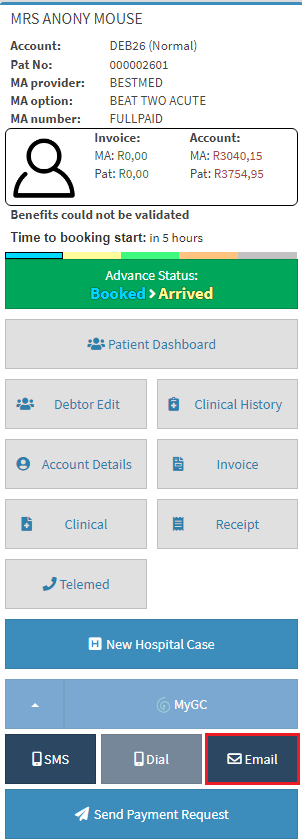
On the Diary Select a Debtor to send an Email to.
On the Sidebar Click on Email.
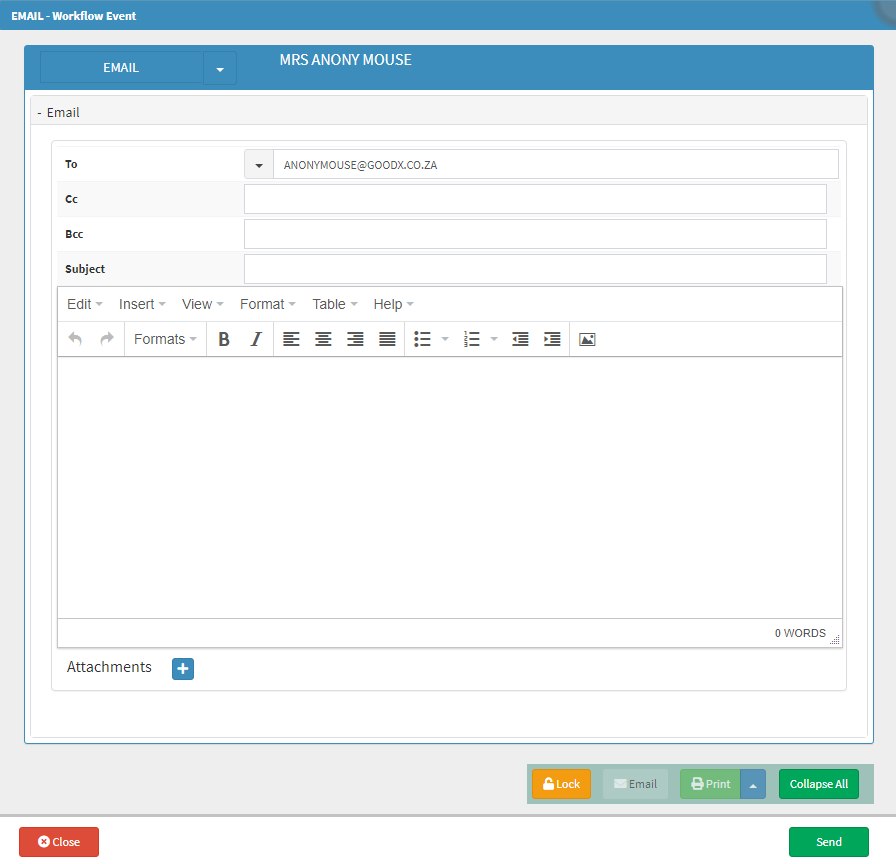
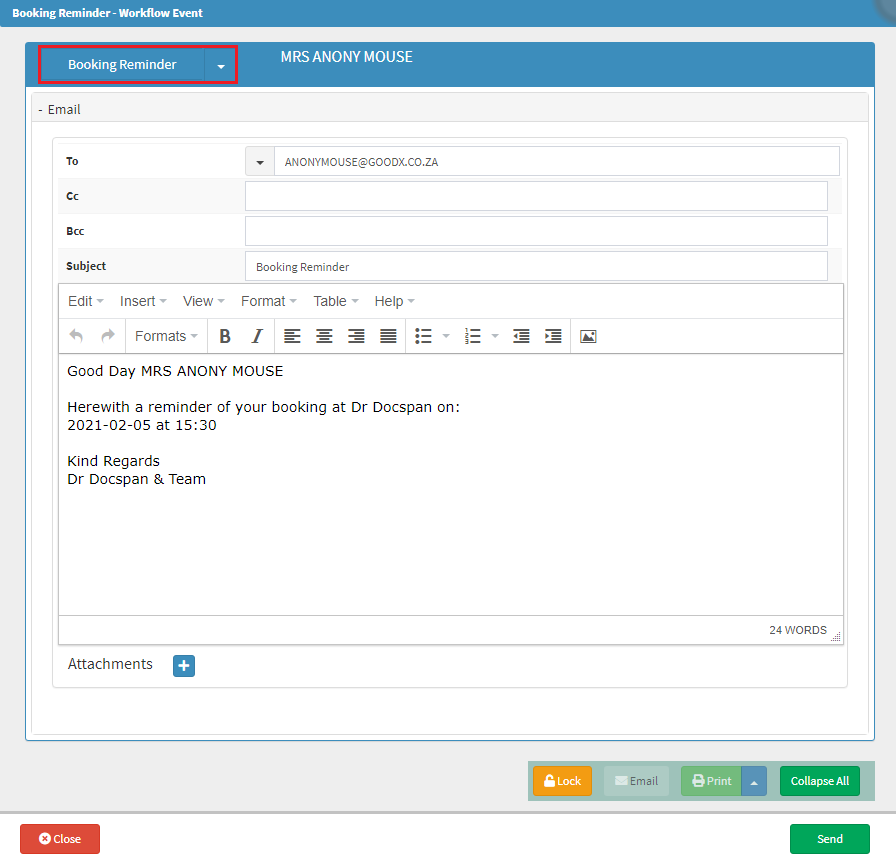
The EMAIL -Workflow Event screen will appear.
The patient's email address will be added automatically.
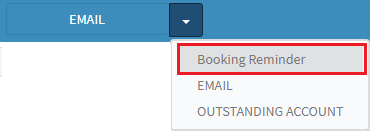
From the Email Template drop-down menu, select the pre set up email template: Booking Reminder.
This will open the email template that was selected.
Click on Send to send the mail.
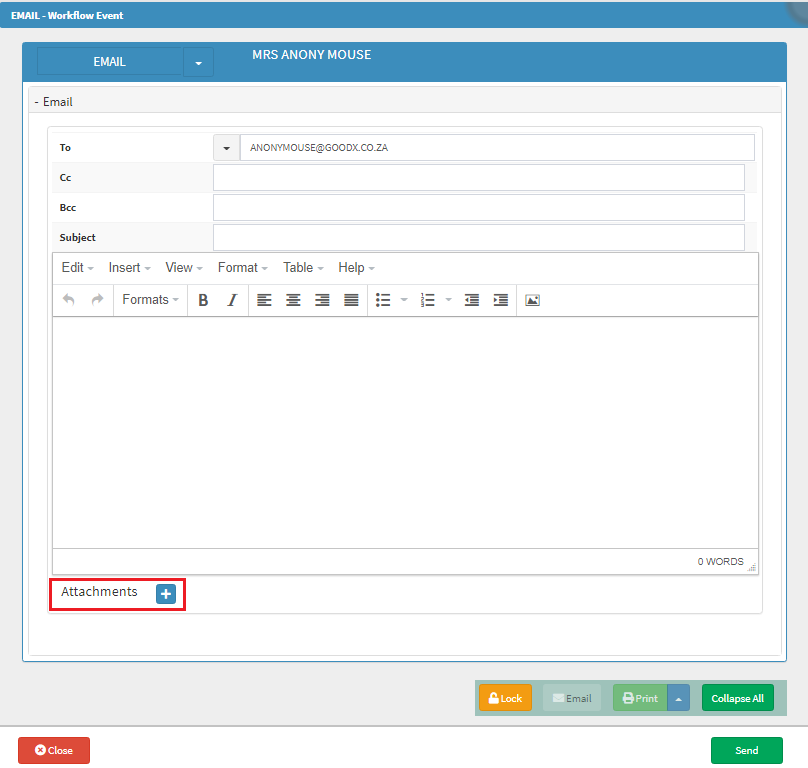
Email Attachments
A feature has been added that will allow a user to add any .pdf file or Image as an attachment to the email by clicking on the
plus (+) button in the email. The content of email attachments can now also be viewed.
Complete the body of the email.
Click on + next to Attachments to attach documents and images that the user would like to send to the debtor.
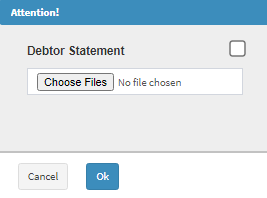
An Attention pop-up will appear to Choose Files.
To attach the Debtor Statement to the email tick the box next to debtor statement.
Click on Choose Files to open the files on the computer.
Click on OK after files were selected to attach to the email.
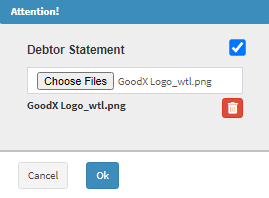
All selected files will be added to the Attachments section.
To view an attached file, click on the eye icon next to the file.
To delete an attached file, click on the trash can to delete it.
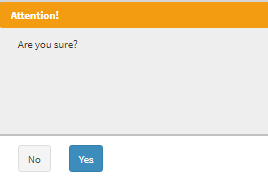
An Attention pop-up will appear to ask if the user is sure they want to delete the attachment.
ClickYes to Delete
Click No to Cancel
To send the email click on Send, the email screen will close and will return the user to the Main Diary screen.
PLEASE NOTE: On the bottom of every screen there is a yellow lock button.
This button has NO RELEVANCE in the SMS/Email Functions and is used in other functions on the Workflow Events tab.
Last modified: Thursday, 30 November 2023, 9:40 AM