A Medical Account can be created for a specific case by invoicing all the procedures that were done and/or all the stock that was used.
Choose the Invoice button on the bottom left of the screen to create the invoice.
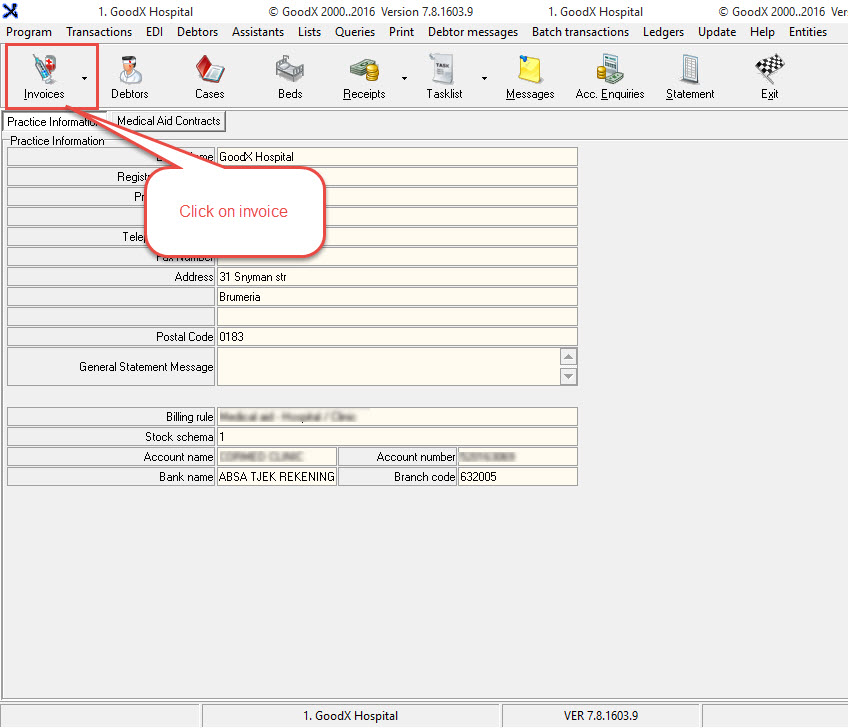
From the Hospital Case Management Module, click on Invoices.
TAKE NOTE: Enter the case number by using the '+' sign in the beginning, otherwise, it will invoice the debtor and not the case.
Press TAB after the case number (NEVER USE ENTER).
Complete the correct service date, treating doctor, referring doctor, service centre (ward or location) and authorization number.
Click on Continue (F2)
Make sure you are working on the correct debtor and case number.
Choose the correct service centre and warehouse from which the stock will be taken.
A new episode will allow you to bill the same debtor and case for another service date.
Priv/MA will change the invoice to Private (patient liable) account or Medical Aid account. For example, if the patient is on a medical aid but will pay cash for the invoice, you can set it as a private account and it will not send the account to
the medical aid.
The Dispensing Method is the classification of your stock. For example, if you bill medication you have to specify if it is TTO (to take out) medicine or ward medicine. Please note that you must classify each stock item that you invoice.
Set-Item to Zero is used to make one or more of the items Zero, for example, if you want to bill a stock item but don't want to charge anything for this item. The item will then go off the stock but the patient will not be liable for the item.
With this function, you can invoice all the procedures for the case. For example, Day Admission Fee.
Type in the procedure code and press TAB. If you don't know the code you can type in any letter and TAB - the list will appear where you can search for the code.
With this function, you can invoice all the material and medicine (stock items) that were used in the case.
Type in the stock code (Nappi code or description) and press TAB. If you don't know the code you can type in any letter and TAB
- the list will appear where you can search for the code by Nappi, or description of the stock code.
Combinations can be set up for set procedures. For example, if the patient is admitted to high care you will probably use a High Care Fee with Oxygen and a list of medication or materials, so you can set up the combination to bill all of the
items together.
Click on the link on How to Set Up Combinations (Still in progress)
This function will remove an item
The Repeat Code button is used to repeat code for several days instead of creating an invoice for each day
Select the Code that you want to capture from the Procedures list
Then, click on the Repeat Code button or use the shortcut keys (Ctrl+R)
A Treatment Dates screen is displayed
Double click the days for which you want to repeat the code
The dates are displayed in the right-hand window on the screen
Click on the Continue button or press (F2)
Click on the Delete All Dates button or press (F10) to delete all the dates in the window, or click on the Delete Single Date button, or press (F9) to
delete a single date
This function will allow you to repeat the entire treatment on different service dates and not just one code.
First, select the codes for the treatment from the Procedure list
Then, click on the Repeat Treatment button, or use the shortcut keys (Ctrl+T)
The Date to Repeat screen is displayed.
Select the date of the first treatment and click on the OK button, or press the (F2) button (the date will be highlighted by default)
Double click the days on which you want to repeat the treatment
The dates are displayed in the right-hand window on the screen
Click on the Continue button, or press (F2)
Click on the Delete All Dates button, or press F10 to delete all the dates from the window, or click on the Delete Single Date button, or press F9 to
delete a single date
Post the Invoice (F2)
Post selected service dates and save the rest to continue at a later stage.
Save the entire invoice to continue at a later stage.
Post final invoice together with final adjustment procedure code; the program will calculate the difference between the fees for services and the fixed fee, and the difference will be posted as an invoice.
Print the invoice statement
Exit the invoice screen.
Other Functions:
Clear Screen: Clear the entire invoice.
Debtor Info: View the debtor info
Invoice Analysis: View the summary of how the invoice will post
Clinical Info: Access the patient's clinical information.
Message Book: Open the message book to write a message on the patient's statement.
NoteBook: Make notes in the patient's notebook.
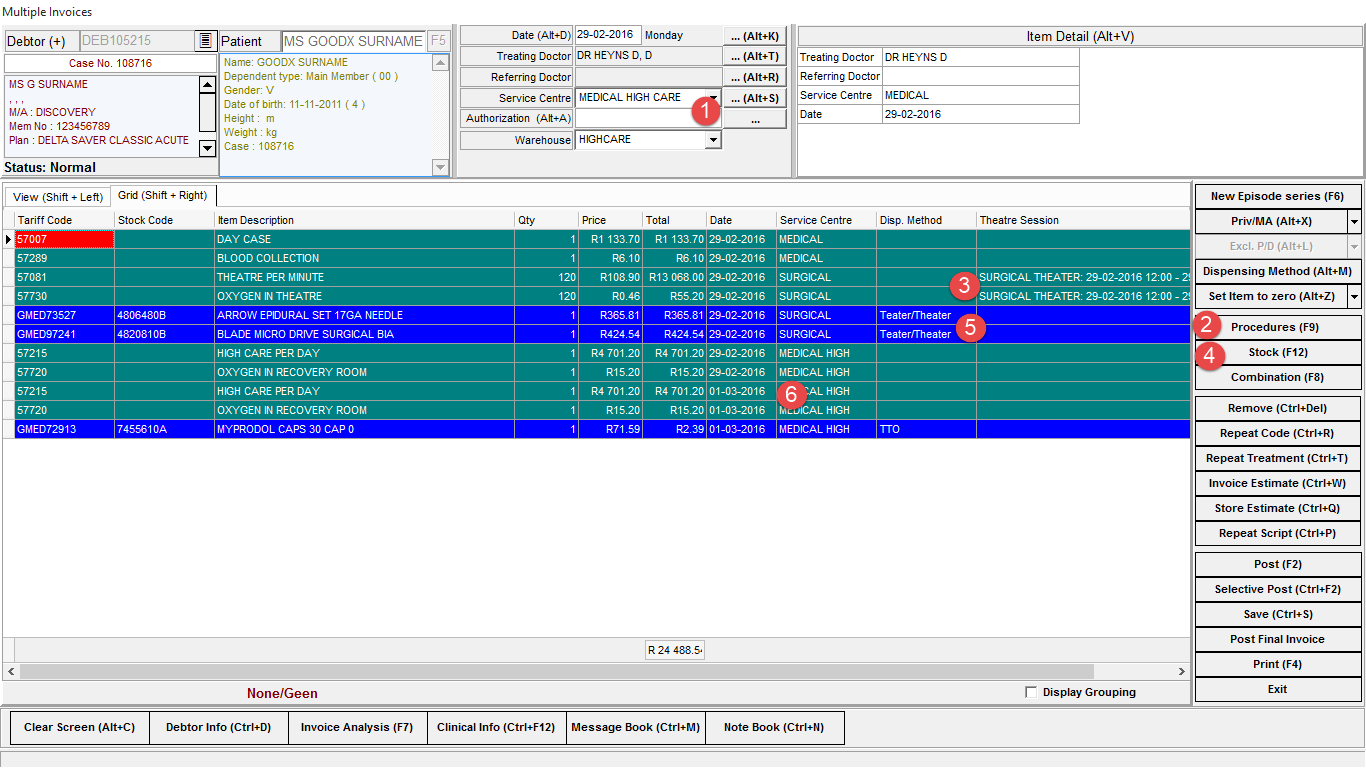
An example of an Invoice:
This patient was admitted first to a general ward. Make sure your service centre and warehouse are correct.
Start to bill your procedures, like day fee etc. for the general ward by clicking on Procedures (F9).
The patient was then moved to the theatre, so make sure you change the service centre and warehouse before you start with your next code.
Bill any stock that was used for the patient by clicking on Stock (F12)
Check that the correct dispensing method was chosen for the stock.
Another service date was billed; you can do this by either clicking on New Episode (F6) or by repeating the code or treatment.