Payments / Cheques to Creditors
A creditor is an entity, a company or a person of a legal nature that has provided goods, services, or a monetary loan to a practice
Creditors refer to the party that has delivered a product or service and is owed money by one or more debtors.


Click on Exit when satisfied with the payments that have been captured.

Creditors refer to the party that has delivered a product or service and is owed money by one or more debtors.
Once a creditor has delivered the goods/service, the payment is expected at an agreed-upon date.
- Log in to the GoodX Desktop using your GoodX username and password.
- From the Navigator Double Click on the Creditors Module.

- The main Creditors page will open.

- Click on the Cheques button on the toolbar.

- The Cashbook screen will open.
- Select the Cashbook: Control Creditors Cheques by clicking on it. (this will be dependant on the user's setup)

- Click on OK to proceed.

- The Select Period screen will open.

- Select the Period the transaction should be posted to.

- To post in the previous financial year, tick the check box. This depends on the user's access, not all users will have access to this setting
- The previous financial year will open, in order to select a period.

Please Note: The amounts reflected in the Financial Reports for the previous year will change due to this transaction.
- Please Specify: Select a batch option by clicking on the radio button if the desired option.
- New Batch: Creates a new batch.
- Existing Batch: Uses a batch that was previously set up by the user.
- Own Existing Batch: Uses a pre set up custom batch that the user has created.

- Batch File Name: This is automatically allocated to the batch depending on the Please Specify batch selection. This batch number can be changed by the user.

- Click on Ok to proceed.

Level 1
- The KAS5 Kontrole Krediteure Tjeks- Cre Cheques Normal screen will open.

- Complete the fields:
- Date: The date of the payment.
- Link Cheque: How the cheque will be linked select sequential
- Sequential: This allows the user to decide where to allocate the payment amount.
- Backwards: Links an amount that was posted as unlinked to a specific transaction.
- Description: The reference that will appear on the bank statement, that can be used to refer back to the payment that was made.
- Payment: Type of payment made (Cheque)
- K- Cash: Physical money.
- Q-Cheque: A document that orders a bank to pay a specific amount of money from a person's account to the person in whose name the cheque has been issued.
- C-Credit Card: a card that is linked to a credit (loan) account
- E-Electronic: Electronic Funds Transfer (EFT) digital payment from one account to another.
- P-Postal Order: A safe way to send money through the postal service without mailing cash.
- D-Debit Order: A pre-agreed upon contract for the receiver to deduct money from the payer's account.
- L-Linking: This allows an unlinked payment to be linked to a previous invoice.
- Reference Number: A unique number that is allocated to the transaction.
- Branch Code: A unique identifying code for a given branch of a bank.
- Bank Statement (ct optional): To allocate a payment on the bank statement to a specific creditor.
- Cre Cheques: Capture Number, will be allocated automatically to each transaction, this can be changed by the user if they would like to change it.
- Amount: The amount that will be paid to the creditor.
- Click on the Report button to generate a report for the transaction in the current batch.
Level 2
- Once the amount is entered, press Tab to proceed to the next detail section of the screen.

- Enter the Creditor number or press Tab to open the creditor's list to select the desired creditor.
- Double Click on the relevant creditor to select them.
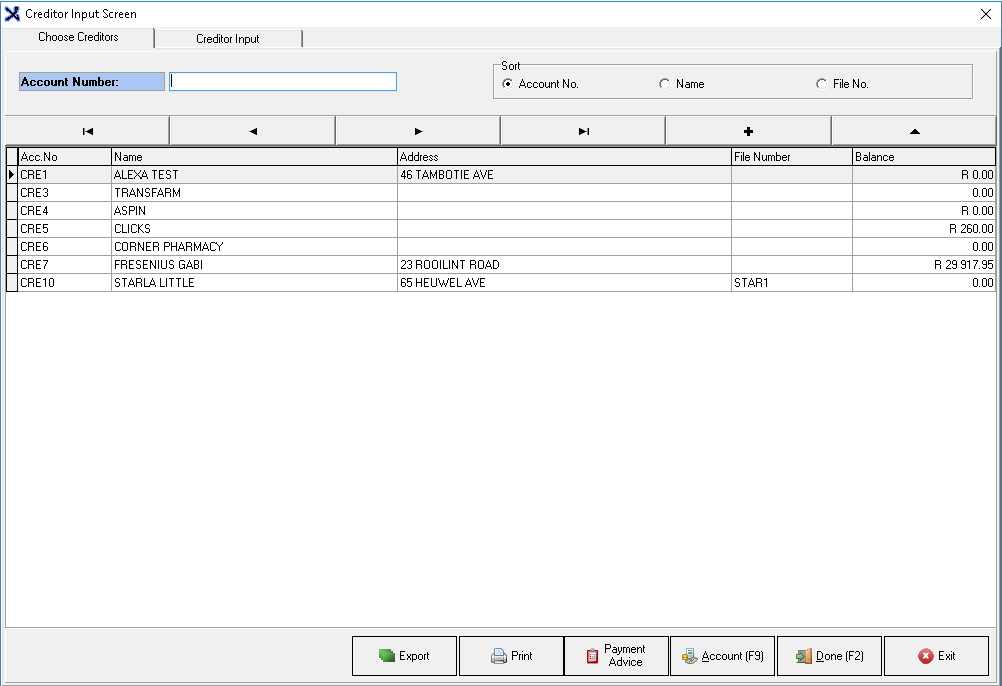
- The amount will be allocated to the creditor that was chosen.

- The information will be divided into columns:
- Doc. no.: The number that the system allocates to the payment that is being captured.
- Account: The account where the payment will be allocated to.
- Analysis S/B/T: How the cheque/payment was linked.
- S: Sequential.
- B/T: Backwards.
- Amount: The amount that will be allocated and linked to the invoice.
- Between Dates: By ticking the check box, it will only show invoices between two specific dates.
- Suppress zeros outstanding: By ticking the check box, all invoices that have a 0.00 balance will be hidden.
- Click on Done to move to the next detail section.

Level 3
- The next detail section will open.

- The information will be divided into columns:
- Doc no. : The number that is associated with the original document.
- Supplier Inv.: The invoice number as received by the supplier.
- Date: The date that the payment was requested.
- Pay: The amount that will be paid to the creditor.
- Outstanding: The amount that is owed to the creditor.
- Inv. Amount: The original amount that the invoice was for.
- Order No: The order number allocated to the invoice.
- Delivered by: the person who delivered the goods/services.
- Settle Acc.: The income ledger account where the settlement will be posted.
- Settle: Discount or settlement amount that was agreed upon.
- Settle. Vat: The VAT amount on the settlement or discount amount.
- Capture the payment against the correct items, that have been paid.
- The line colour will change to blue if captured correctly.

- Click on Auto mark to allocate the full amount to the selected line item.

- Click on Toggle Sorting (Invoice/Date) to sort the outstanding invoices by document number or date.

- Click on Done when satisfied with the transaction that has been captured.

- The Document Options will pop up.

- Click on Return to Allocation to return to the allocation section.

- Click on Continue to proceed. The screen will close and allow another payment to be done.

- Click on Done if no other payments need to be made.

- Click on Continue to proceed.

- The transaction will close.

- Click on the Options drop-down menu to open more options.

- Click on Batch Explorer to open the Batch Explorer screen.
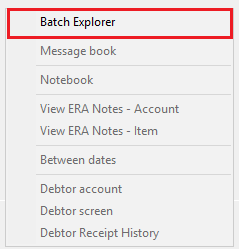
Click on Exit when satisfied with the payments that have been captured.

- The Batch screen will open with options for the batch.
- Select the relevant batch print options.
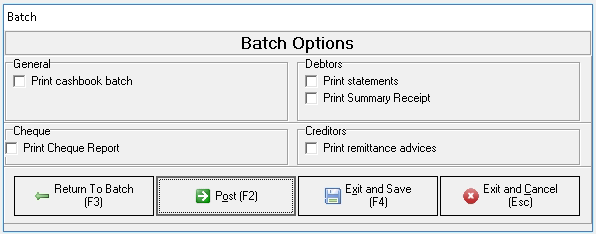
- Click on Exit and Save to save the transaction without posting it.

- Click on Exit and Cancel to close the batch without saving.

- A Confirm pop up will appear to ask if the user is sure they want to delete the batch.
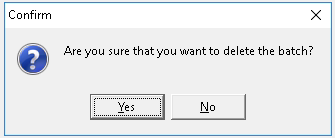
- Click on No to cancel the request.

- Click on Yes to delete the batch.

- Click on Post to post the transaction to the system.

- The screen will close automatically and return to the main Creditors Screen if posted successfully.
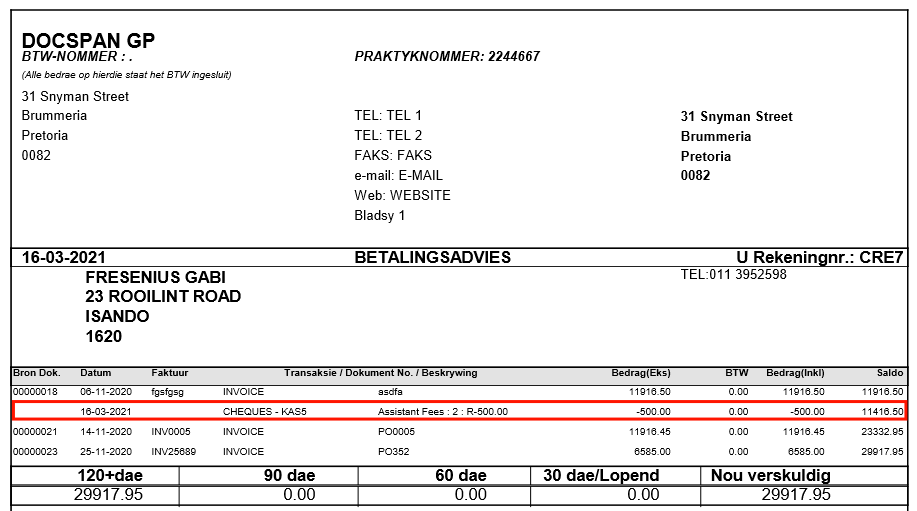
- A Payment Advice can be generated to show that the payment was posted successfully.
Last modified: Friday, 17 September 2021, 2:48 PM
