How to make Quick Notes
Quick Notes consist of text and images that relates and contributes to a patients condition. The quick note is useful to refer back to when a patient returns for a follow-up or future reference.
- The contents of this User Manual will consist of the following information:
- Add Image
- Camera
- Blank
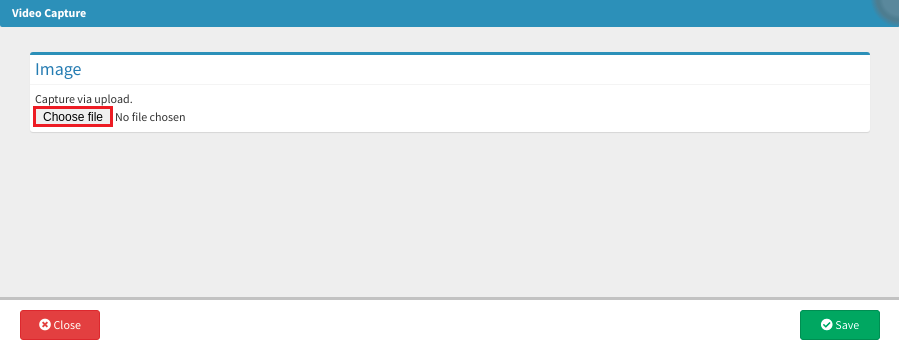
- Upload from File
- Load from External Upload
- Text Box
- Set PDF File
- Print and Email
- Complete
- This user manual will start on the Diary screen.

- Click on the Clinical button in the side panel.
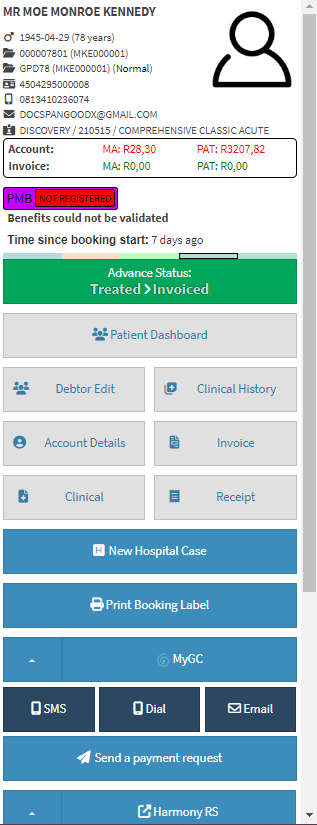
- The Clinical Case screen will open.

- Select the Quick Note from the Forms Library.

- The Quick Note screen will open.
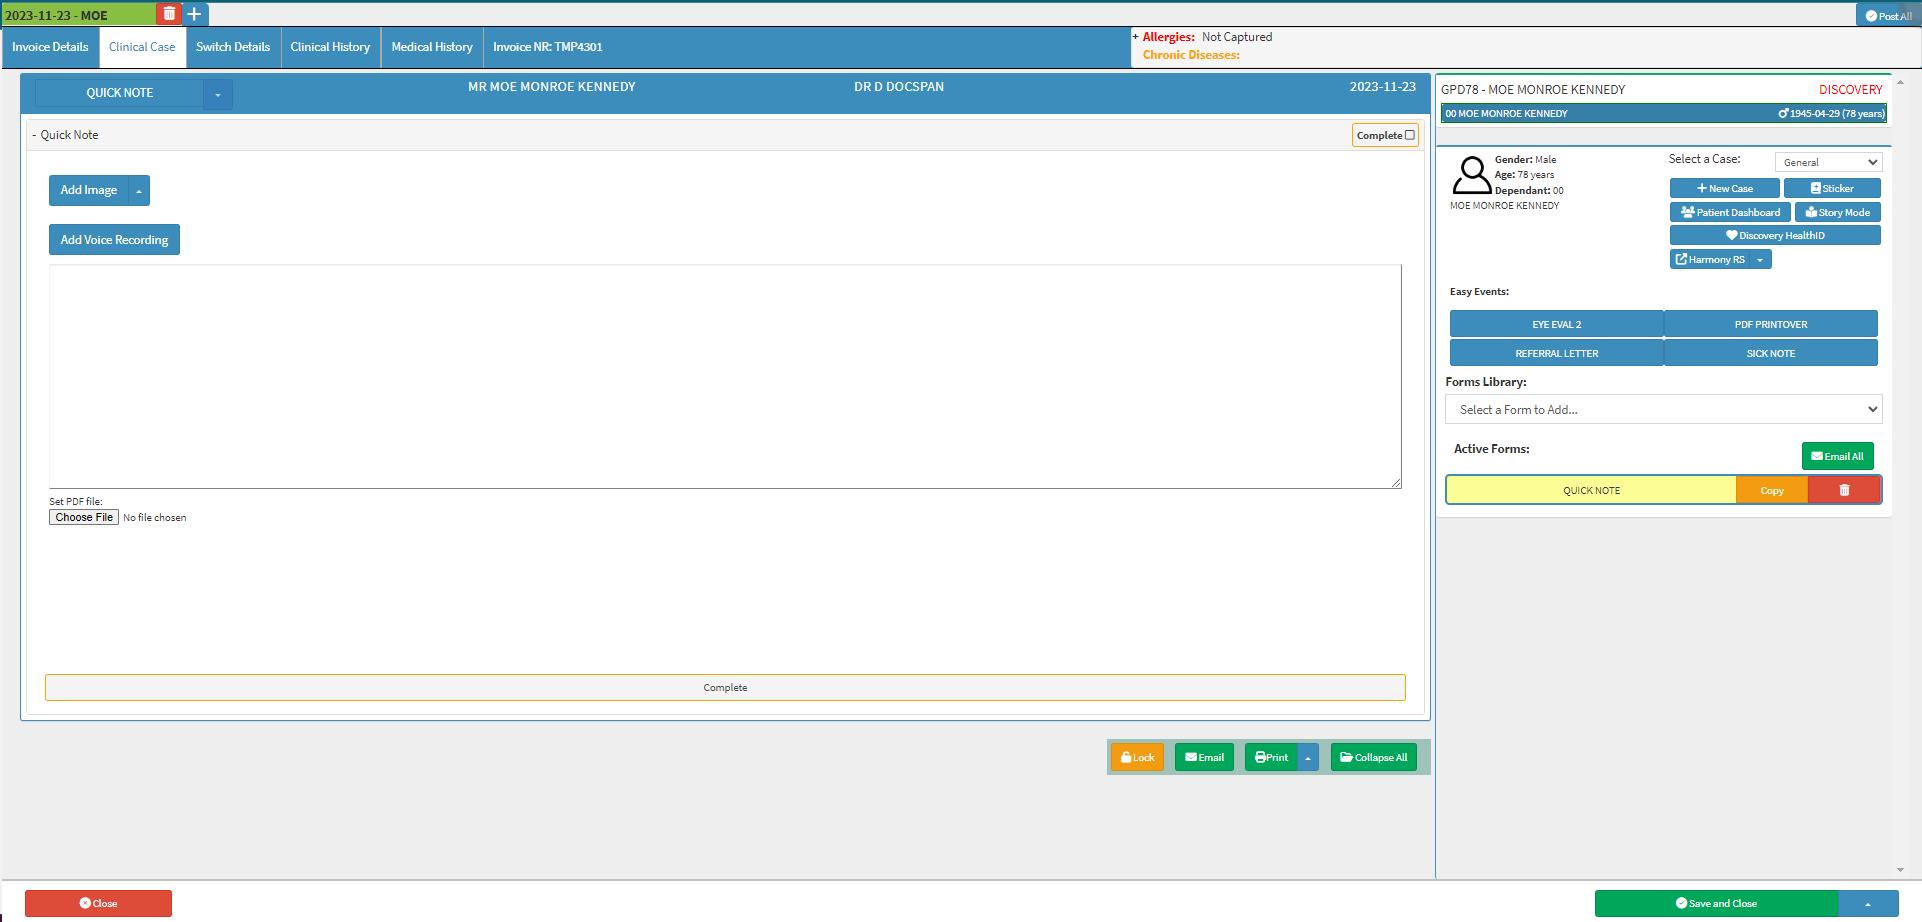
Please Note: The Quick note will now display under the Active Forms sections.

Add Image
Camera
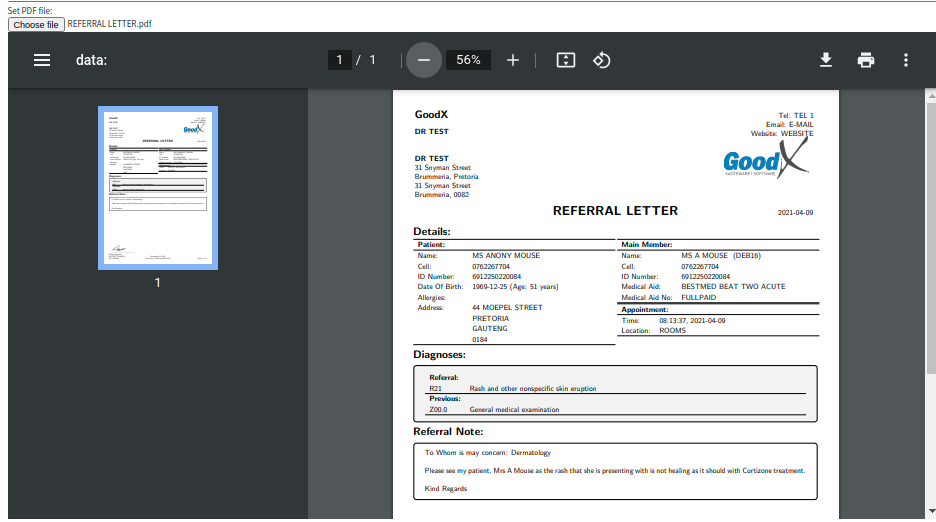
- Search for and select the .pdf document on the computer that needs to be added to the note.
- The .pdf document will open under the Set PDF file section.
Print and Email
Shares the content of the note via Email to the patient or any other email address.- Click on Email to open the
Email Workflow Event screen.

- Click on Print to print the content of the note as a hard copy for future and offline reference.

- For an extensive explanation on how to send an email or print the Quick Note please see the user manual: Email/Print Forms
Complete
- Click on the Complete button at the bottom of the Quick Note screen when done and satisfied with the content of the Quick Note to complete the form.
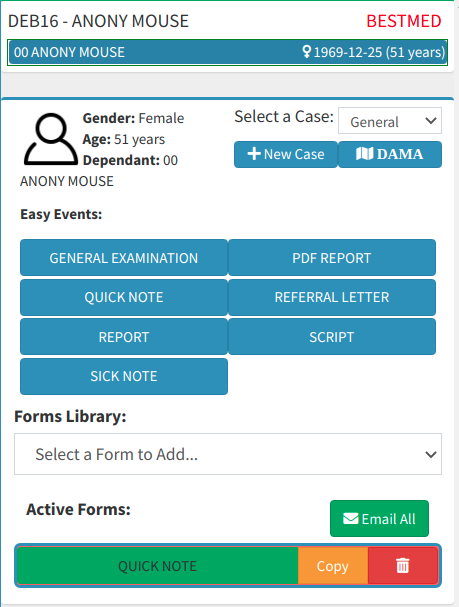
- Note that the button will change colour to green to indicate that the Quick Note has been completed.
- The note's colour will also change to green in the side panel to indicate that the note has been completed.
- Click on Save and Close when done with the quick note to return to the Diary screen.

Last modified: Thursday, 21 December 2023, 3:28 PM


